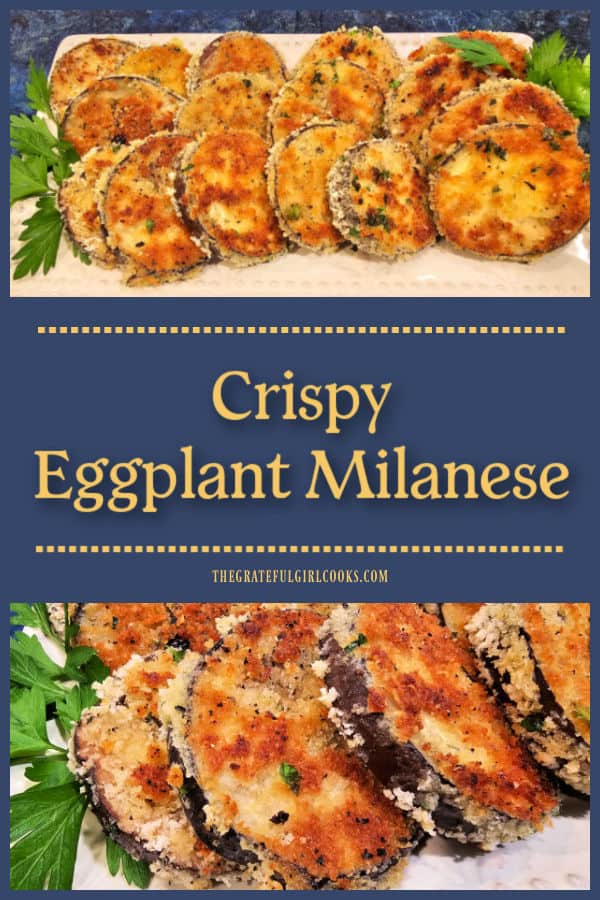
Crispy Eggplant Milanese is an Italian-inspired veggie side dish that will compliment a variety of main dishes. It’s crispy and delicious!
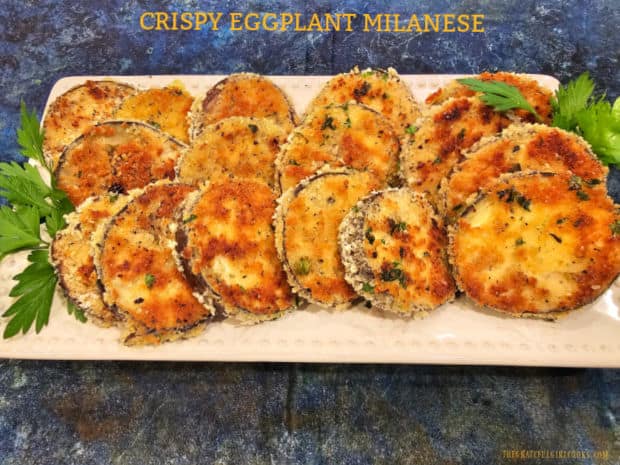
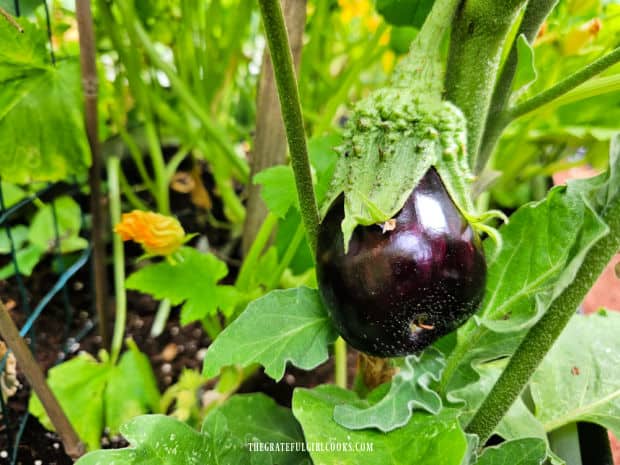
Today I want to share a delicious vegetable recipe with you featuring eggplant. I discovered this recipe this past summer when I was growing my own eggplant in our little backyard raised garden.
Our eggplant bush was VERY productive, far more than I had anticipated, so it set me on the search for additional “new to us” and yummy recipes! This is the first one I tried because it sounded wonderful, and after making it the first time, I knew instantly it was a “keeper”.
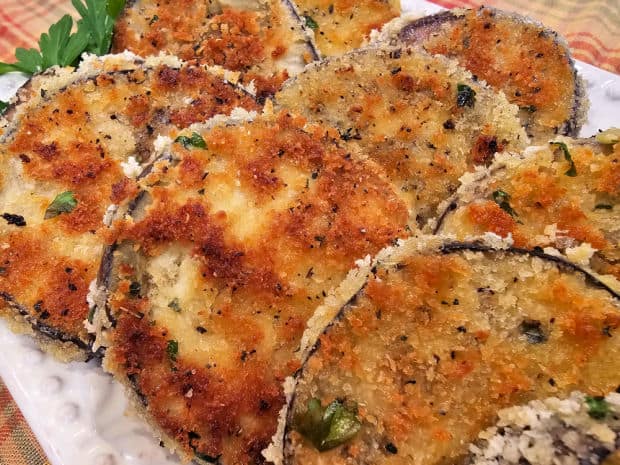
Eggplant slices are coated in a three-step process (don’t worry, it’s EASY), and then lightly fried in a small amount of olive oil in a skillet. This results in a well-seasoned, crispy topping on the outside and soft on the inside of the slices! It’s a beautiful, tasty side dish I’m sure you will enjoy, and here’s how to make it.
Scroll Down For A Printable Recipe Card At The Bottom Of The Page
About the Eggplant
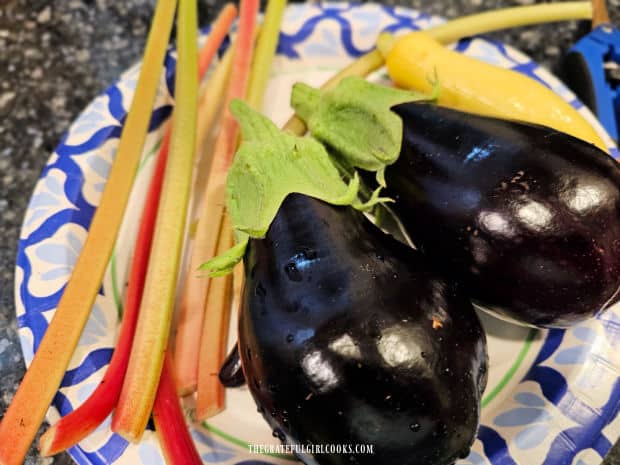
You will need two medium-sized eggplants for this recipe, which will serve four to five people about 5-6 slices per serving. I grew eggplant in our little raised bed garden this past summer, so I was fortunate to be able to use a couple of them for this recipe.
Prepare The Eggplant For Cooking
Remove the stem end of the eggplants, then cut each eggplant into rounds, each one about ½” thick. Once cut, I ended up with about 30 slices from the two eggplants (your amount will vary based on the size eggplant you use).
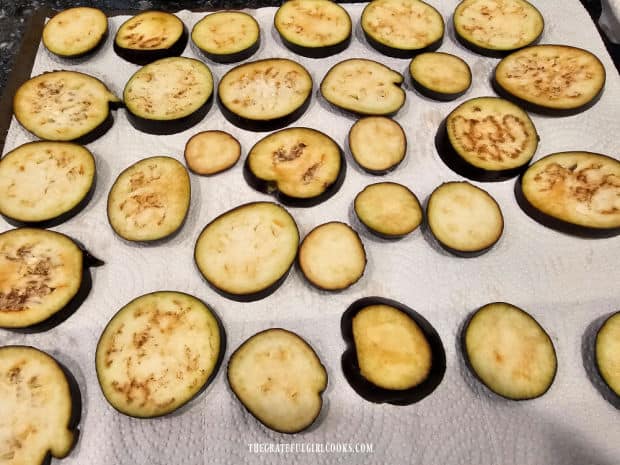
Sprinkle all of the eggplant slices using one teaspoon of salt (total), then place them in a single layer on paper towels on top of a baking pan.
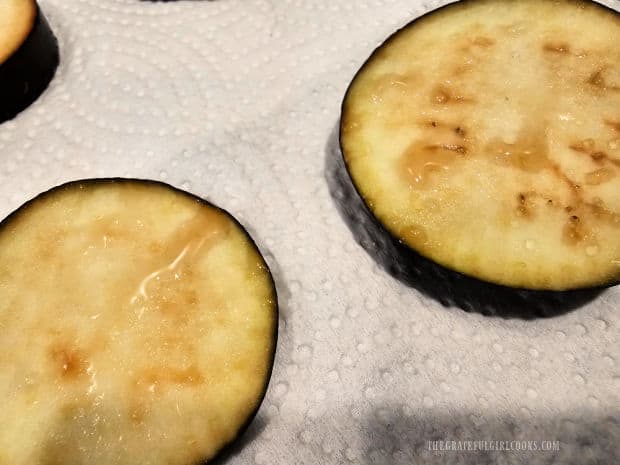
Allow the salted eggplant slices to sit and “rest” for about 25-30 minutes. This allows the salt you applied bring out the excess moisture from the eggplant.
You can see in the photo below how the moisture is drawn out of the eggplant (that’s a GOOD thing!). Now pat each of the slices dry using additional paper towels, absorbing as much of the moisture as possible. Set the eggplant slices aside (in a single layer).
Make The Toppings To Coat The Eggplant Slices
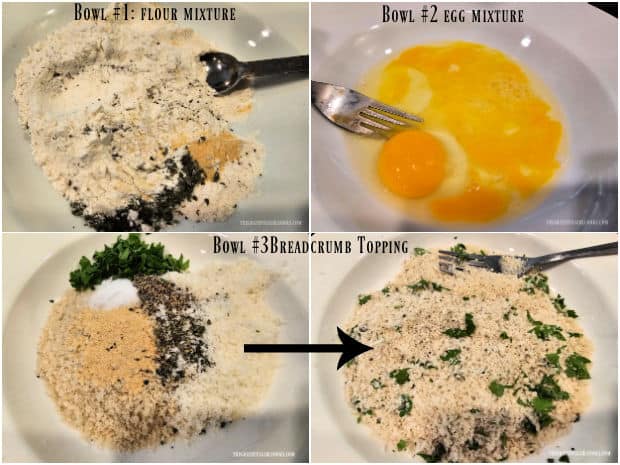
Step #1: Combine all-purpose flour, garlic powder, dried oregano, salt and black pepper in a shallow bowl. Stir until this mixture is combined. Set this dish aside.
Step #2: In a second shallow bowl, whisk two large eggs together until they are fully combined. You can use a wire whisk or a fork to do this. Set the bowl aside.
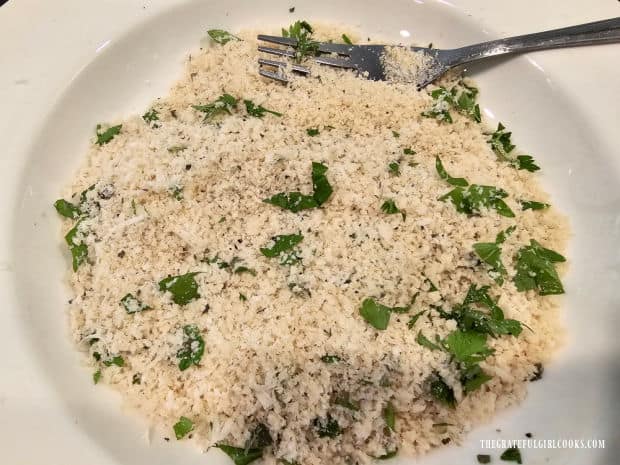
Step #3: In a third separate shallow bowl, stir together panko breadcrumbs, fresh parsley (chopped), finely grated Parmesan cheese, dried oregano, garlic powder, salt and pepper.
Coat the Eggplant Slices
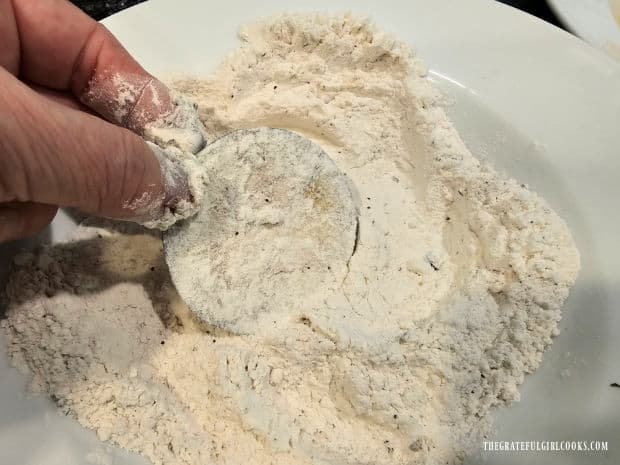
Now it’s time to season and coat the eggplant slices before cooking. It is best to do one slice at a time, and it is helpful to use the same hand for dipping each time, because it can get a bit messy!
Dip one slice of eggplant into the flour mixture bowl (bowl #1). Dredge the slice in this mixture to cover both sides. Lightly shake off the excess flour.
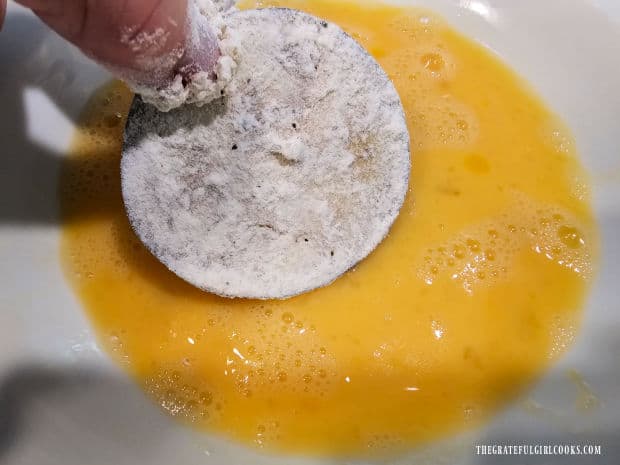
Next dip the flour covered slice in the egg mixture (bowl #2), making sure to cover both sides. Be sure to let any excess egg drip back into the bowl.
The last step is to coat the slice in the panko breadcrumb mixture. Dredge the egg-covered slice in this mixture until it is fully covered on all sides. You may find it helpful to press the breadcrumb mix onto each slice, so it adheres well.
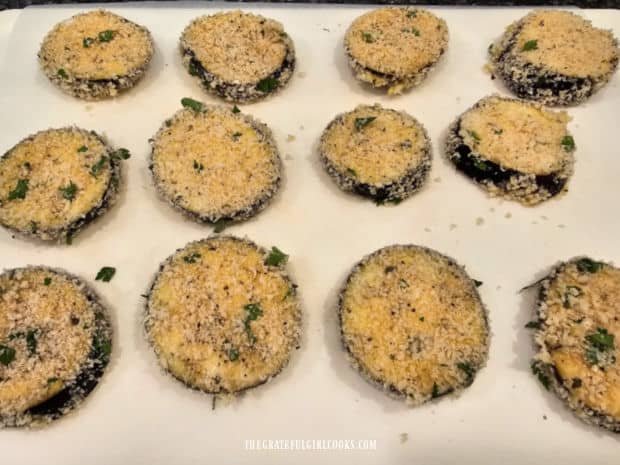
As you finish each slice, lay it on a wax paper or parchment paper-covered tray or cutting board. Repeat this process (all 3 steps) with all remaining eggplant slices. Keep the finished, coated slices in a single layer on the wax or parchment paper.
Fry The Eggplant Slices (or freeze them for later!)
Once all of the eggplant is coated, you are ready to fry them. You also have the option to freeze the eggplant at this point and cook them at a later date.
If you WANT to freeze them for later use, this is the point where you need to stop. Freeze the uncooked (but fully breaded) eggplant slices on a baking sheet (in a single layer). Once they’re solidly frozen, transfer them to a freezer bag or into a large air-tight freezer container. When ready to use them, cook them frozen (but add 1-2 minutes more cooking time for each side).
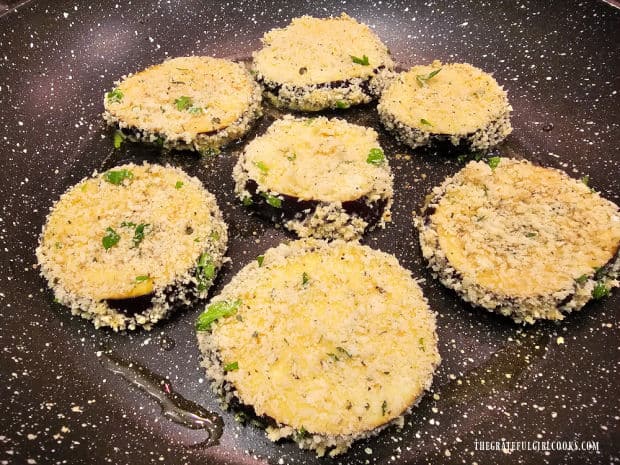
TO COOK THE EGGPLANT IMMEDIATELY: In a large skillet (preferably non-stick), heat 2 T. of olive oil on Medium heat. Once the oil is hot (but not smoking), add 6-8 slices to the hot skillet/oil. NOTE: You need to fry the eggplant in batches, so the skillet doesn’t become overcrowded.
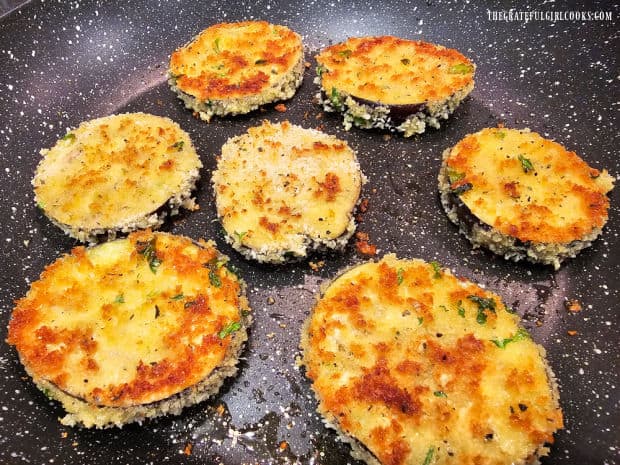
Fry the eggplant slices for 2-3 minutes, then carefully flip each piece to the other side and cook that side an additional couple minutes. when done, each slice should be crispy on the outside and nicely browned.
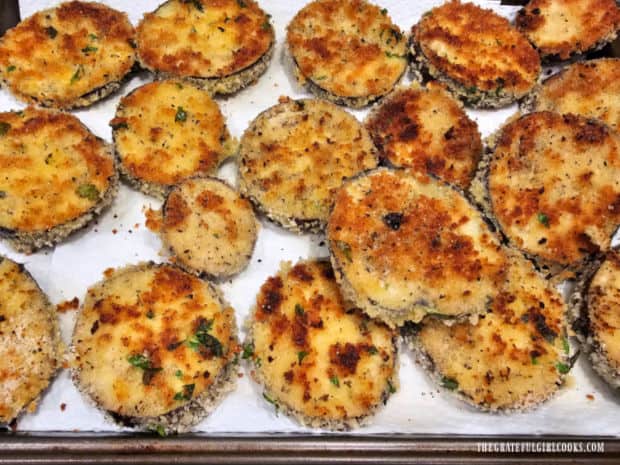
When each batch is done, transfer the slices to paper towels to help absorb any extra oil. Cover them OR place them on a wire rack (uncovered) in a preheated 200°F. oven to keep them hot (AND crispy!).
Repeat this “frying” process with the remaining eggplant slices. NOTE: You may need to add additional olive oil, if needed, and heat it back up for each new batch.
Serve The Crispy Eggplant Milanese
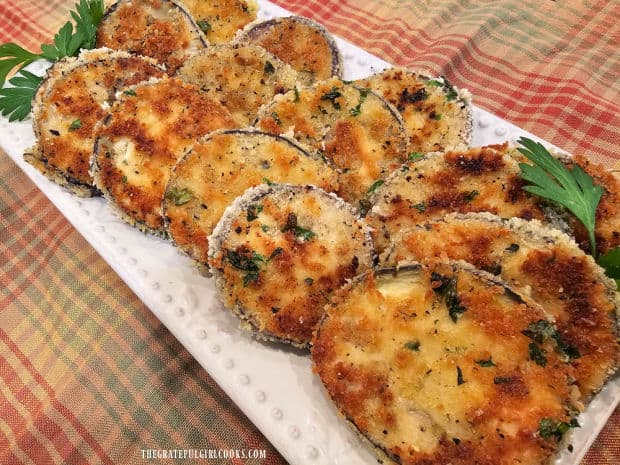
When you’re ready to serve the crispy eggplant Milanese, transfer the eggplant to a serving plate or platter. Garnish the platter or the slices with additional chopped parsley and/or grated Parmesan (if desired) and serve immediately.
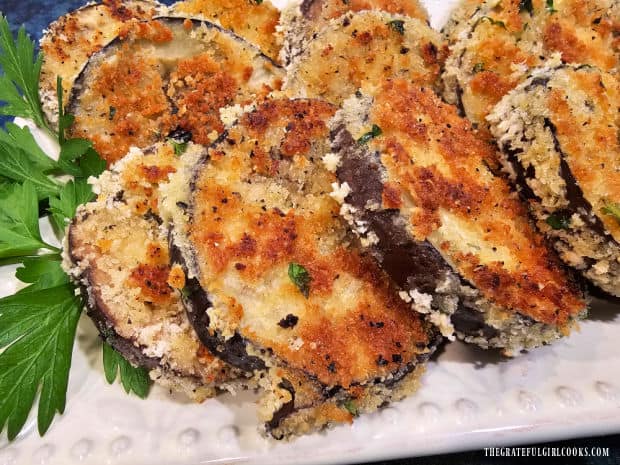
The crispy eggplant Milanese is absolutely yummy, has great flavor, and yes… each piece should be nice and crispy on the outside and wonderfully soft on the inside! I really am confident you’re going to love this vegetable dish.
I hope you have the opportunity to try this delicious side dish and trust you and those you serve it to will enjoy it, too! This vegetable dish looks good AND tastes good, too, so it’s a nice, fairly elegant side dish to serve to guests!
Thanks for stopping by, and I invite you to come back soon for more family-friendly recipes. Take care, may God bless you, and have a wonderful day!
Looking For More EGGPLANT Recipes?
You can find ALL of my recipes in the Recipe Index, which is located at the top of the page. I have some delicious eggplant recipes which include:
Want More Recipes? Get My FREE Newsletter!
I publish a newsletter 2 times per month (1st and 15th) with lots of recipes, tips, etc..
Would you like to join our growing list of subscribers?
There is a Newsletter subscription box on the top right (or bottom) of each blog post, depending on the device you use.
You can submit your e-mail address there, to be added to my mailing list.
Find Me On Social Media:
Facebook page: The Grateful Girl Cooks!
Pinterest: The Grateful Girl Cooks!
Instagram: jbatthegratefulgirlcooks
Original recipe source (and with thanks to Allie Hagerty): The Best Crispy Eggplant Milanese Recipe (Fried) – Seasoned and Salted
↓↓ PRINTABLE RECIPE BELOW ↓↓

Crispy Eggplant Milanese is an Italian-inspired veggie side dish that will compliment a variety of main dishes. It's crispy and delicious!
- 2 medium eggplants cut in ½" thick rounds
- 1 teaspoon kosher salt to sweat the eggplant
- ¼ cup olive oil- to fry eggplant in (2 Tbsp. per batch)
- 1 cup all-purpose flour
- 1 teaspoon dried oregano
- 1 teaspoon garlic powder
- ½ teaspoon kosher salt
- ¼ teaspoon ground black pepper
- 2 large eggs beaten
- 1 cup Panko breadcrumbs
- ½ cup grated Parmesan cheese
- 2 Tablespoons fresh parsley
- 1 teaspoon garlic powder
- 1 teaspoon dried oregano
- ¾ teaspoon kosher salt
- ½ teaspoon ground black pepper
Remove stem from eggplant. Slice each eggplant into rounds about ½" thick.
Sprinkle slices using 1 tsp. salt; place them in a single layer on a paper towel-lined baking sheet. Allow eggplant to "rest" 25-30 minutes to let the salt bring out excess moisture. Pat the slices very dry using paper towels, absorbing as much of the moisture as possible. Set eggplant slices aside (in a single layer).
Bowl #1: Combine flour, garlic powder, dried oregano, salt and pepper in a shallow bowl. Stir until combined. Set bowl aside.
Bowl #2: In a separate shallow bowl, whisk eggs together until fully combined. Set bowl aside.
Bowl #3: In a third separate shallow bowl, stir together panko breadcrumbs, fresh parsley (chopped), finely grated Parmesan cheese, dried oregano, garlic powder, salt and pepper.
Dip one slice at a time into the flour bowl (bowl #1). Dredge the slice in the mixture to cover both sides. Lightly shake off excess flour.
Next dip the slice in the egg mixture (bowl #2), making sure to cover all sides. Be sure to let any excess egg drip back into the bowl. The last step is to coat the slice in the panko breadcrumb mixture (bowl #3).
Dredge the egg-covered slice in this mixture until fully covered on all sides. Press breadcrumbs onto each slice, so it adheres well. As you finish each slice, lay it on a wax or parchment paper-covered tray in a single layer. Repeat process (all 3 steps) with remaining eggplant. SEE NOTE #2 below if you want to freeze them for later use.
In a large skillet heat 2 Tbsp. olive oil on Medium heat. Once oil is hot (but not smoking), add 6-8 slices to the skillet. NOTE: Fry slices in batches, so skillet doesn't become overcrowded. Fry eggplant slices 2-3 minutes, then carefully turn them over. Cook 2-3 more minutes, until crispy and golden brown on both sides.
When each batch is done, transfer slices to paper towels to absorb extra oil. Cover and keep slices warm (SEE NOTE #1 BELOW), then repeat with remaining slices. Tip: You may need to add more olive oil, if needed, for each new batch.
To serve, transfer slices to a platter. Garnish with fresh parsley and/or grated Parmesan (if desired) and serve immediately.
NOTE #1: A simple way to keep the eggplant hot (AND crispy!) while you cook the remaining eggplant slices is to place the already fried slices on a wire rack (uncovered) in a pre-heated 200°F. oven.
NOTE #2: If you WANT to freeze them for later use: Freeze uncooked (but fully breaded) eggplant slices on a baking sheet (in a single layer). Once solidly frozen, transfer them to a freezer bag or into an air-tight freezer container. When ready to use, cook them frozen (but add 1-2 minutes more cooking time for each side).
Here’s one more to pin on your Pinterest boards!