Peppermint Pinwheel Cookies are festive holiday treats for family and friends! Colored spirals and light peppermint flavor make them special!
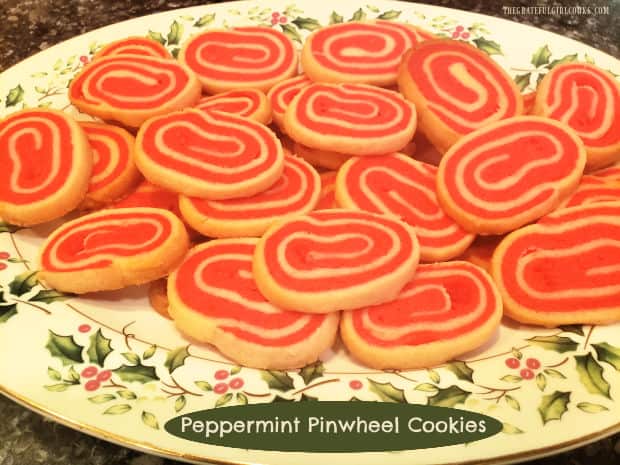
If you’re looking for a new Christmas cookie recipe to try this year, may I suggest these Peppermint Pinwheel Cookies? They’re not only pretty to look at, they have a nice light peppermint flavor, which is perfect for the holidays!
I found the recipe many years ago (don’t remember where), and made them for my annual cookie exchange in our home. They were a hit! Two layers of an easily made dough (red and white) are tightly rolled into a log shape. The dough is well chilled, then sliced and baked! That’s it! Let me show you how to make these adorable holiday cookies!
Scroll Down For A Printable Recipe Card At The Bottom Of The Page
Make The Dough For The Peppermint Pinwheel Cookies
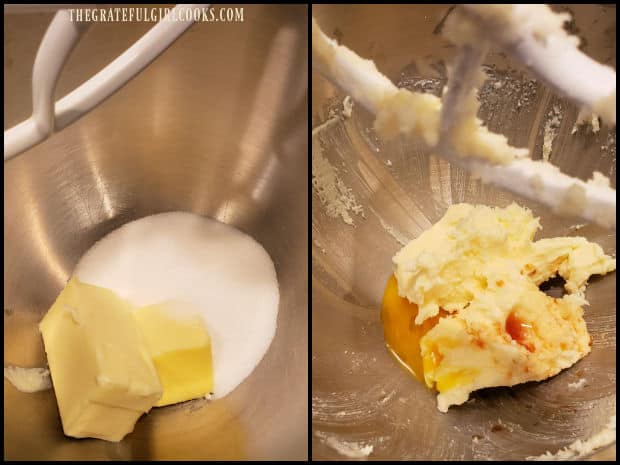
Cream softened butter and granulated sugar in a mixing bowl, using an electric mixer. Once well blended, beat in one egg YOLK and vanilla extract, until the batter is creamy and well combined.
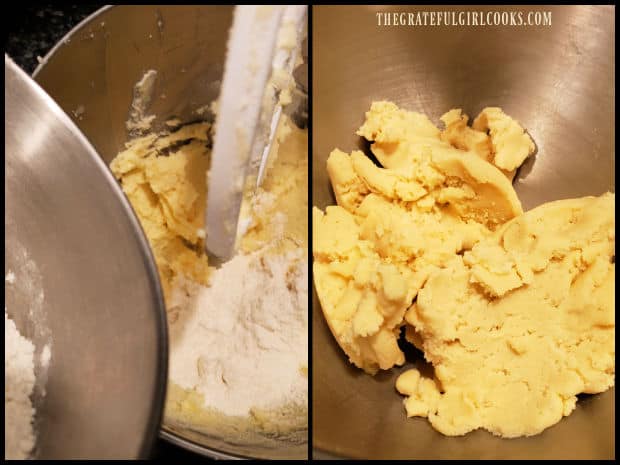
In a separate bowl, stir together all purpose flour, salt and baking powder. Add this mixture to the batter, a little at a time while mixing. Continue beating until fully incorporated and a thick, soft dough has formed.
Color And Flavor Half The Dough
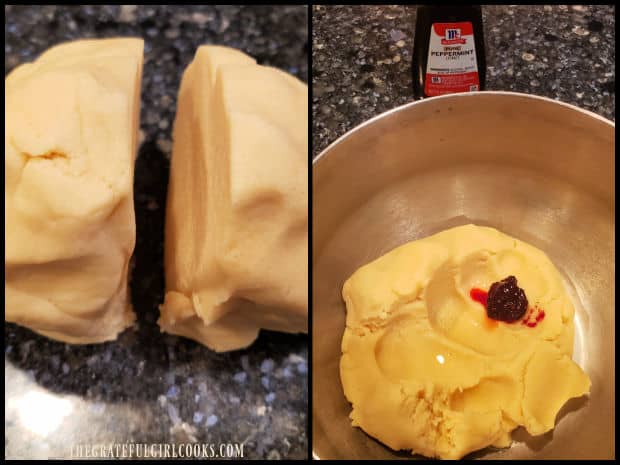
Evenly divide the cookie dough in half, and set one half aside. Place the remaining half of the dough in a large bowl, and add peppermint extract and red food coloring (liquid or gel- I used gel).
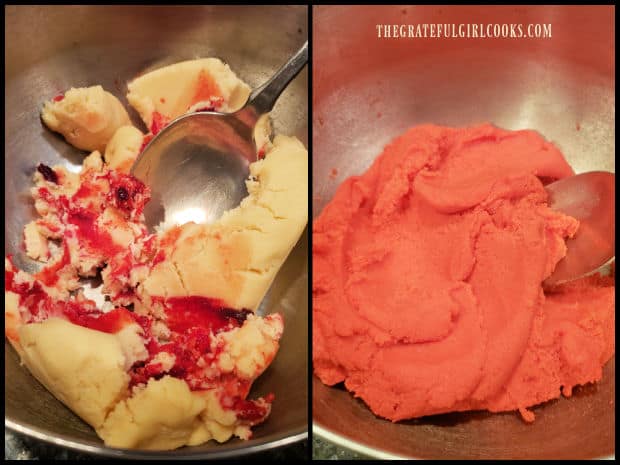
Use a large spoon to combine the extract and food coloring. I find it helpful to use the back of the spoon to fully blend in the color. Yes, you will have to work hard to fully stir in the red coloring! Just keep blending until the red coloring has been completely incorporated into the dough! Set the red dough aside.
Rolling The Red And White Dough Into Rectangles
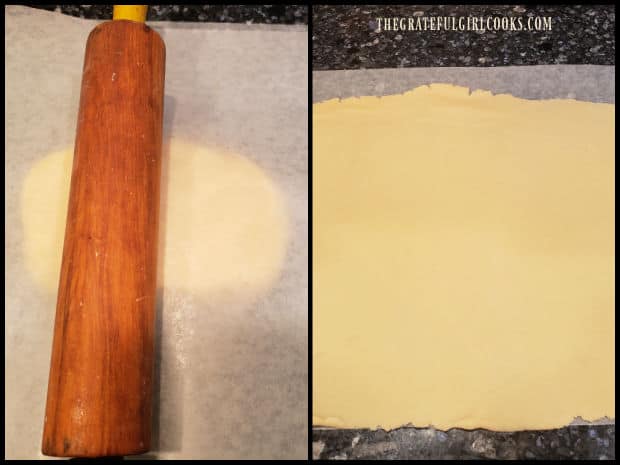
Place the plain dough on a long piece of waxed paper. Use your hands to shape it into a small rectangle. Now place another long piece of wax paper on top. Roll the dough out into a rectangle shape until it measures 16″ long by 10″ wide. Slowly peel off the top layer of wax paper, and set the dough aside.
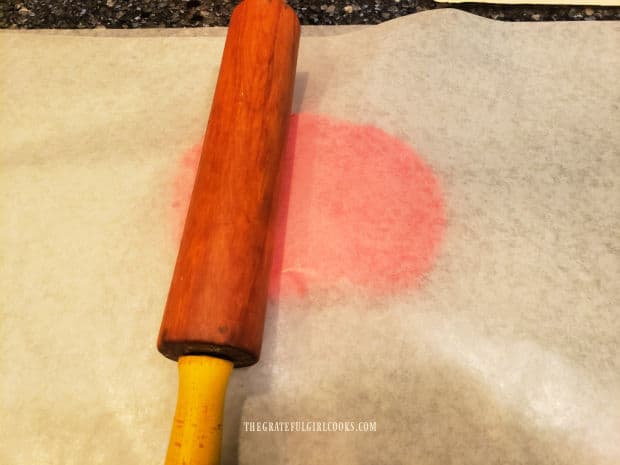
Repeat this process with the red dough (using clean wax paper), rolling it out to the same measurements (16″ x 10″). Slowly peel off the top layer of wax paper, and set the dough aside.
Layering The Dough
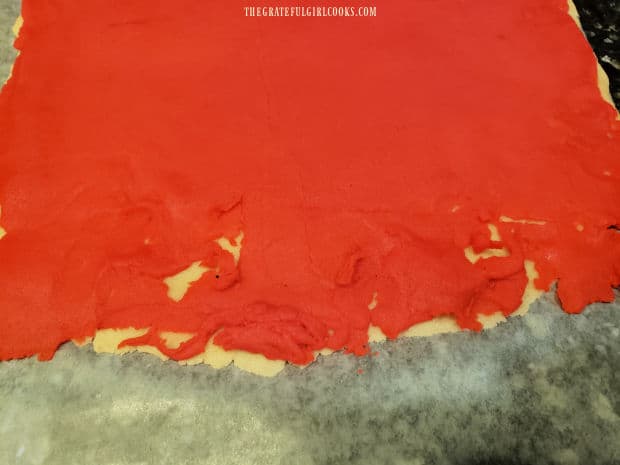
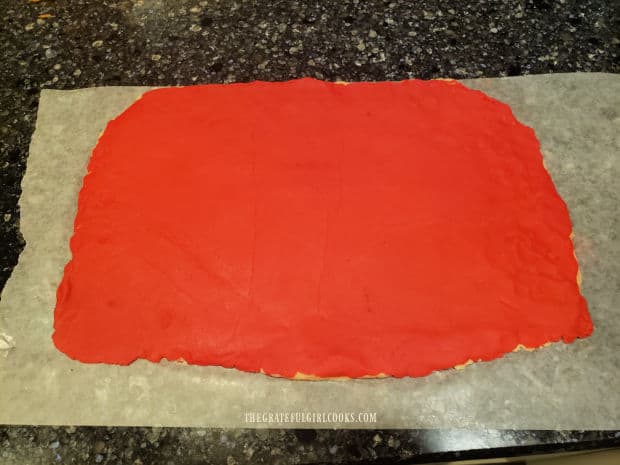
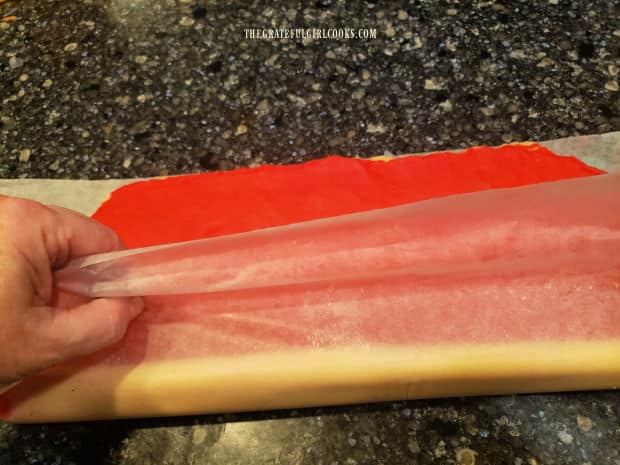
Now you should have one 16″ long by 10″ wide plain rectangle and a red rectangle (both with wax paper on the bottom). Place the plain dough rectangle in front of you. Carefully flip the RED layer over on top of the PLAIN layer, fitting it to the shape of the plain rectangle. The red dough wax paper should now be on the top. Slowly and carefully peel off the wax paper from the red layer.
TIP: In the photo below you can see that occasionally the dough will stick to the wax paper or rip as you remove the wax paper- NO worries)! This is a very forgiving dough. Just keep slowly removing the wax paper, then go back and patch any ripped areas with excess dough from the edges.
Roll The Dough Into A Tight “Log”
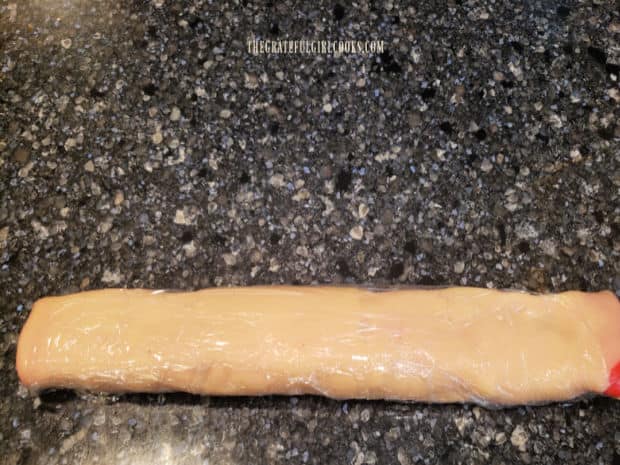
Using the wax paper (on the bottom of the plain dough) as a guide, tightly roll up the dough (jelly roll style), starting with the long side. Wrap the dough log in plastic wrap once done. Place the dough log on a baking sheet and refrigerate it for 2 hours. This is an important step, because you need the dough to be very cold and firm, in order to make clean slices later!
Slice The Chilled Dough Before Baking
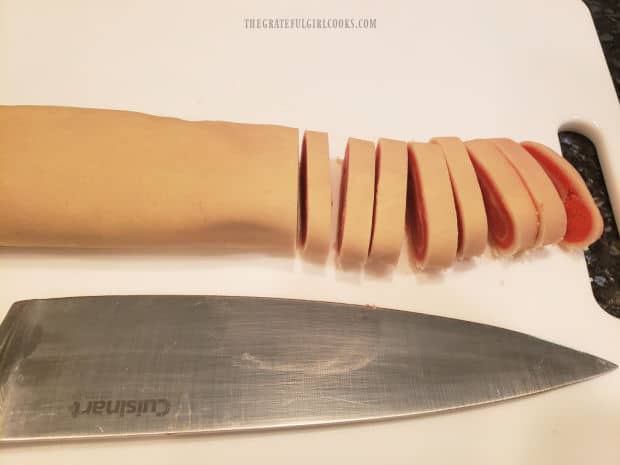
After the dough has chilled for 2 hours, preheat your oven to 350°F. Unwrap the dough, and place the “log” on a cutting board. Use a sharp knife to cut the dough into 1/4″ slices. Because the dough is very cold and firm, this is an easy step, resulting in wonderfully cut, clean slices.
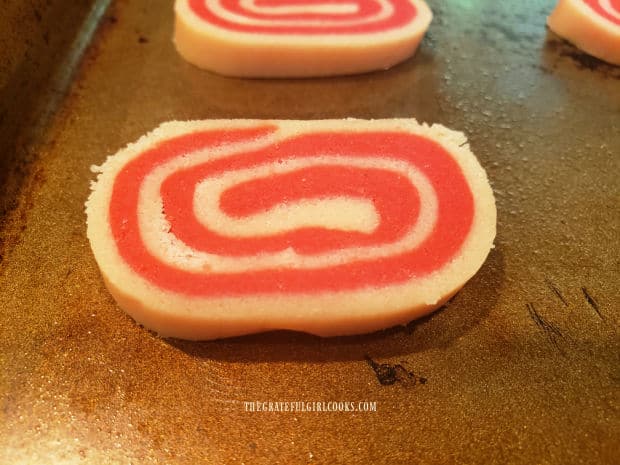
Place the sliced cookies onto lightly greased cookie sheets, keeping the cookies about 2″ apart. You should end up with between 36-46 cookies, depending on the thickness of the slices (and length of the dough rectangle you rolled up). Typically I end up with about 40 cookies, but your quantity may vary slightly.
Ready, Set, Bake!
Bake the cookies at 350°F. for approximately 10-12 minutes. The peppermint pinwheel cookies are done when barely lightly browned on the bottom, and the dough is “set”. Keep an eye on them, because they can brown very quickly (and you don’t want that).
Let the cookies cool for 1 minute, then transfer the cookies from the baking sheet to a wire rack. Let the cookies cool completely before serving. They will crisp up slightly, once cooled.
Who’s Ready To Eat Some Peppermint Pinwheel Cookies?
The peppermint pinwheel cookies are ready to serve, once they have cooled completely! Serve them on a pretty, decorative platter, and watch how fast they disappear. They have a light peppermint taste, but don’t worry! The peppermint flavor is absolutely NOT overpowering, in case you were wondering.
These cookies also freeze very well, if wrapped and placed in an airtight container in the freezer. Simply thaw them out before you need them, and enjoy!
I hope you have the opportunity to try these peppermint pinwheel cookies, and trust you will enjoy them as much as we do! Thank you for visiting my blog today, and I invite you to come back soon for more family-friendly recipes. Take care, God bless you, and have a GREAT day!
Looking For More CHRISTMAS COOKIE Recipes?
You can find ALL of my recipes in the Recipe Index, which is located at the top of the page. I have some wonderful Christmas cookie recipes (and lots of other cookie recipes, too!), including:
- Snowball Cookies
- Chocolate Mint Cookie Bites
- Peanut Butter Kiss Cookies
- Chocolate Covered Peanut Butter Ritz Cookies
- Holiday Spritz Cookies
Interested In More Recipes?
Thank you for visiting this website. I appreciate you using some of your valuable time to do so. If you’re interested, I publish a newsletter 2 times per month (1st and 15th) with all the latest recipes, and other fun info. I would be honored to have you join our growing list of subscribers, so you never miss a great recipe!
There is a Newsletter subscription box on the top right side (or bottom) of each blog post, depending on the device you use, where you can easily submit your e-mail address (only) to be included in my mailing list.
You Can Also Find Me On Social Media:
Facebook page: The Grateful Girl Cooks!
Pinterest: The Grateful Girl Cooks!
Instagram: jbatthegratefulgirlcooks
Original recipe source: unknown
↓↓ PRINTABLE RECIPE BELOW ↓↓

Peppermint Pinwheel Cookies are festive holiday treats for family and friends! Colored spirals and light peppermint flavor make them special!
- ¾ cup butter softened (no substitutes)
- ¾ cup granulated sugar
- 1 large egg YOLK
- 1 teaspoon vanilla extract
- 2 cups all purpose flour
- ½ teaspoon salt
- ½ teaspoon baking powder
- ½ teaspoon peppermint extract
- ¼ teaspoon red liquid food coloring (or gel)
Cream butter and sugar with electric mixer in large bowl. Beat in one egg YOLK and vanilla extract into batter, until combined/creamy.
In separate bowl, combine flour, salt, baking powder. Add to batter, a small amount at a time; mix until combined and thick, soft dough has formed.
Evenly divide dough in half; set one half aside. Place remaining half in large bowl. Add peppermint extract and red food coloring; stir to combine. You have to work hard to mix in red coloring! Keep blending until dough is completely red. Set red dough aside.
Place reserved white dough on a long piece of waxed paper. Use hands to shape it into small rectangle. Place another long piece of wax paper on top. Roll dough into rectangle shape (16" long by 10" wide). Slowly peel off top layer of wax paper; set dough aside. Repeat process with red dough (using clean wax paper), rolling it out to same measurements (16" x 10"). Slowly peel off top layer of wax paper; set dough aside.
You should have a 16"x 10" white rectangle and a red rectangle (each with wax paper on the bottom). Place white dough rectangle in front of you. Carefully flip RED layer over on top of the PLAIN layer, fitting it to the shape of the plain rectangle. Red dough wax paper should now be on top. Slowly peel off wax paper from red layer. Repair any rips or tears that may occur with excess dough.
Using wax paper (on bottom of white rectangle) as a guide, tightly roll up dough, starting with long side. Wrap dough "log" in plastic wrap. Place dough log on a baking sheet; refrigerate dough for 2 hours, then preheat oven to 350°F.
Unwrap dough; place on cutting board. Use sharp knife to cut dough into 1/4" slices. Place slices on lightly greased cookie sheets, about 2" apart.
Bake at 350°F. for 10-12 minutes. Cookies are done when lightly browned on bottom, and dough is "set". Keep an eye on them, because they can brown very quickly. Let cookies cool for 1 minute; transfer to wire rack to cool completely before serving. Enjoy!
NOTE: You should end up with between 36-46 cookies, depending on thickness of slices (and length of dough rectangle you rolled up).
Here’s one more to pin on your Pinterest boards!