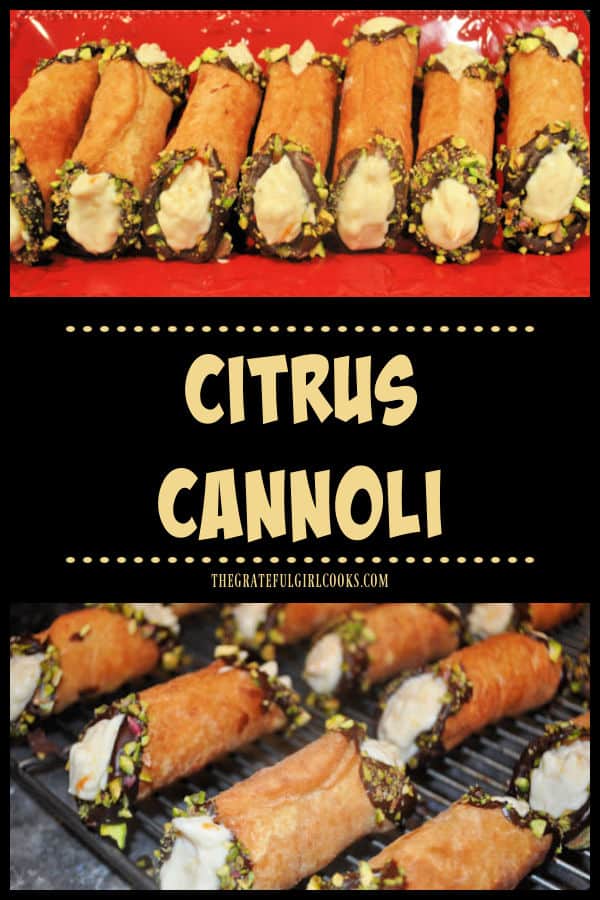
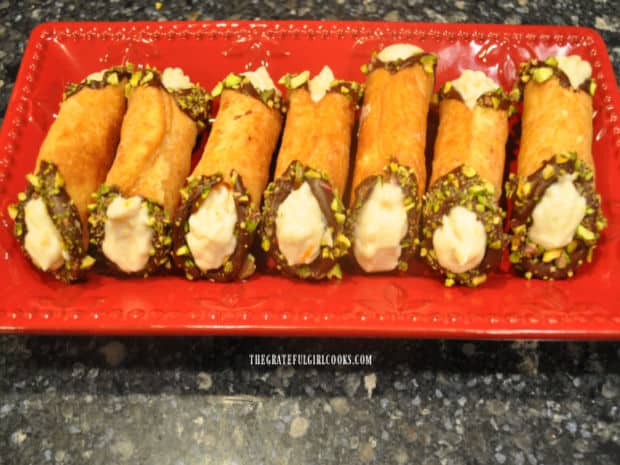
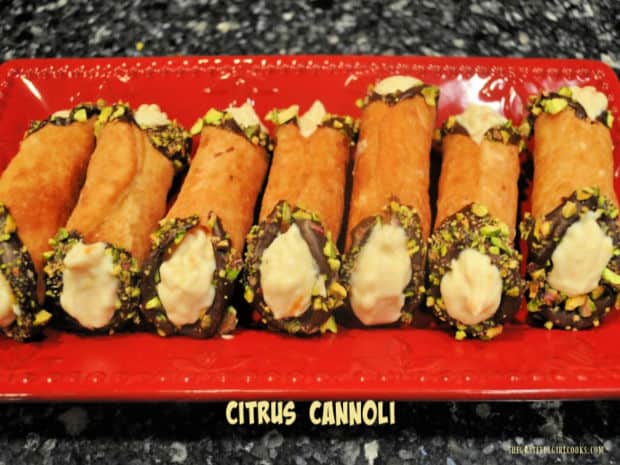
Make about 15 (or more) delicious Citrus Cannoli, with sweetened orange ricotta filling, and decorated with chocolate and chopped pistachios!
Do you enjoy cannoli? My husband and I sure do! We have a coffee house very close to us that serves cannoli, and we have been known to drive there, just for the cannoli! A few years back while on a cruise up the eastern coast of the U.S., we spent a day in Boston.
We enjoyed doing the Freedom Trail walk, seeing historic sites, such as The Boston Commons, and Paul Revere’s home. We also saw the Old North Church and the “Cheers” bar from the old TV show. Our day also included tracking down a famous cannoli shop in the north end of Boston, to bring back some cannoli onto the ship. YUM!
A few years ago, a dear friend of ours who is a great Italian cook, posted a recipe she uses for homemade cannoli. After adapting the recipe slightly for our tastes and preferences, I made these delicious citrus cannoli. YUM!
The recipe, as written, will yield about 15-18 delicious cannoli. Cannoli are always best eaten the same day you make them, so share them!. I’ve shared them with quite a few of our neighbors!
Making citrus cannoli takes a bit of time and prep, but the finished treats are worth every minute! They’re DELICIOUS! Here’s how to make them:
Scroll Down For A Printable Recipe Card At The Bottom Of The Page
Make The Citrus Ricotta Filling For the Cannoli
Place ricotta cheese in a wire mesh strainer over a bowl, and let the excess liquid drain out. Discard liquid, then place the drained ricotta in a blender.
Cover and blend the ricotta until it becomes smooth. You can also use an electric mixer to mix the ricotta until smooth, if that is more convenient. Pour the smooth ricotta into a large bowl.
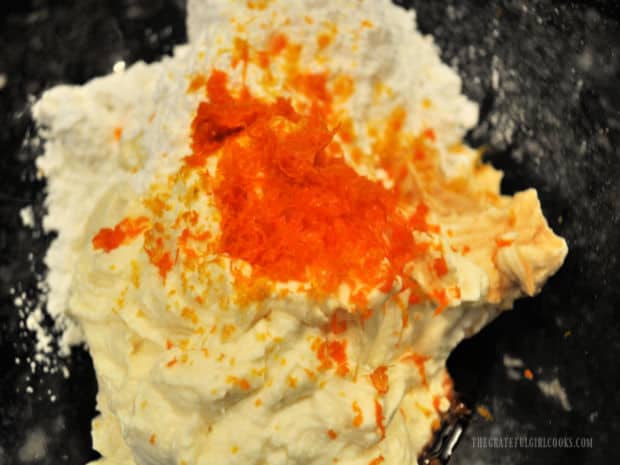
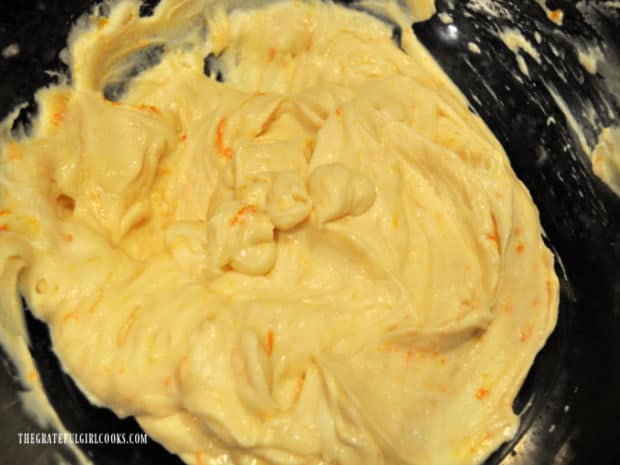
Gently FOLD in un-sifted powdered sugar, vanilla extract, and finely grated orange zest. Continue to gently fold these ingredients into the ricotta until completely incorporated.
Cover the bowl, and keep the citrus ricotta filling refrigerated and well chilled until you’re ready to fill the cannoli shells.
Make The Dough For The Cannoli Shells
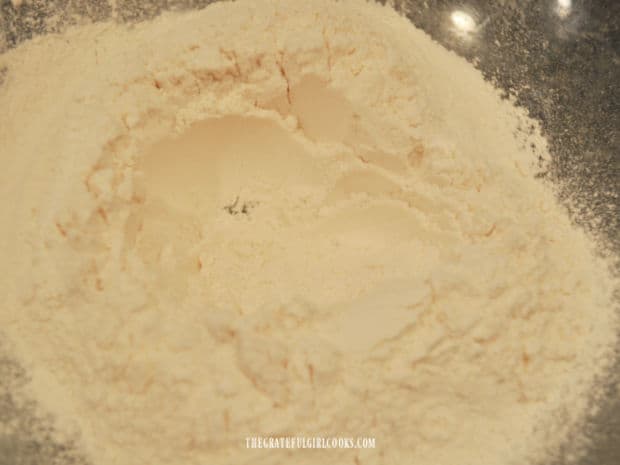
While the ricotta mixture chills in the refrigerator, make the dough for the cannoli shells. Sift flour, salt and sugar together in a large mixing bowl. Use your fingers to create a “well” in the center of the mixture.
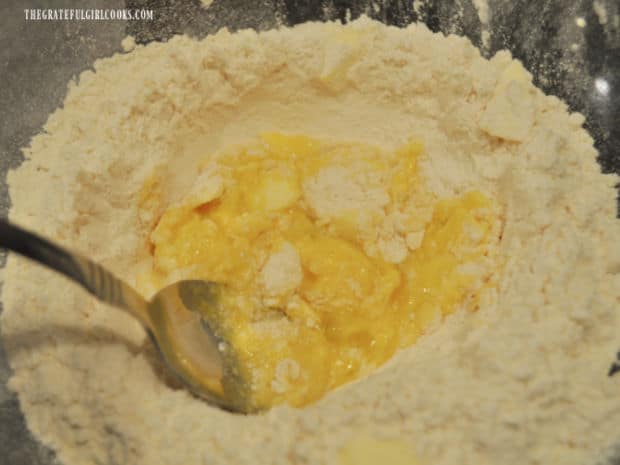
Add a slightly beaten egg and cold butter (cut in pieces) to the center well. Stir the egg and butter into the flour, from the outside in, to incorporate them into and moisten the flour mixture.
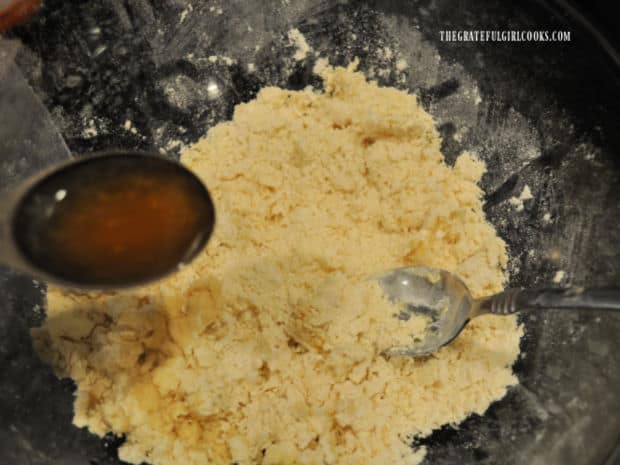
Add Marsala wine, one Tablespoonful at a time, stirring only until the dough mixture clings together.
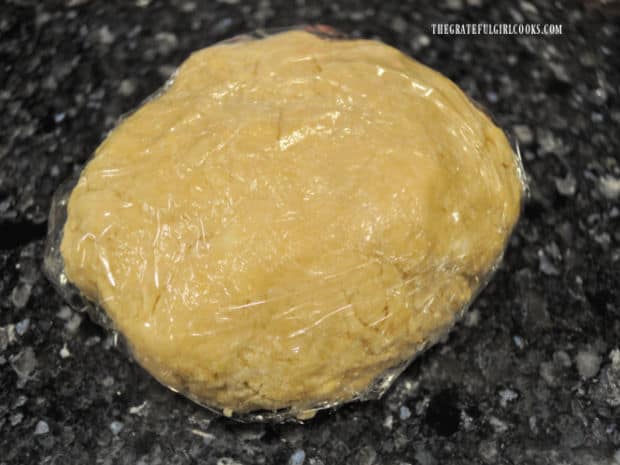
Use your hands to shape the dough into a firm round ball, then wrap the dough tightly with plastic wrap. Let the dough rest at room temperature for 15 minutes before unwrapping.
Cut Out And Shape the Cannoli Shells For Frying
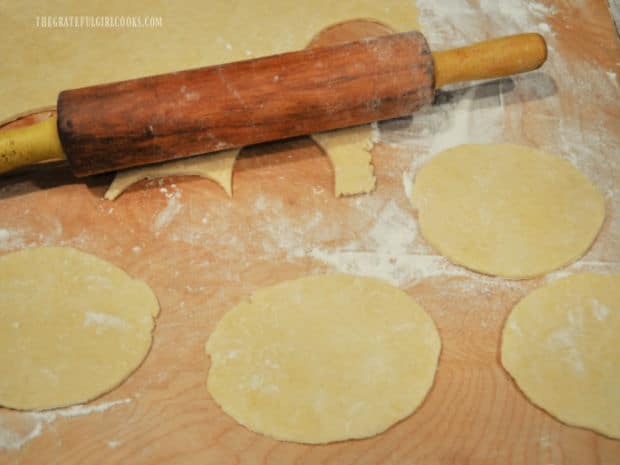
Unwrap the dough, and place it on a lightly floured work surface. Using a rolling pin, roll the dough out until it is about ¼” thick. Use a 3½” round biscuit or cookie cutter to create circles out of the dough (each circle is 3½” wide).
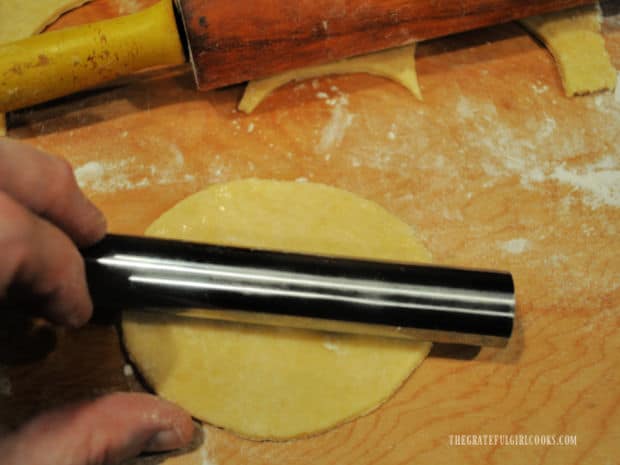
Use the rolling pin to roll out each circle just a bit more into a slightly oval shape. You should end up with approx. 15-18 dough circles (and sometimes more).
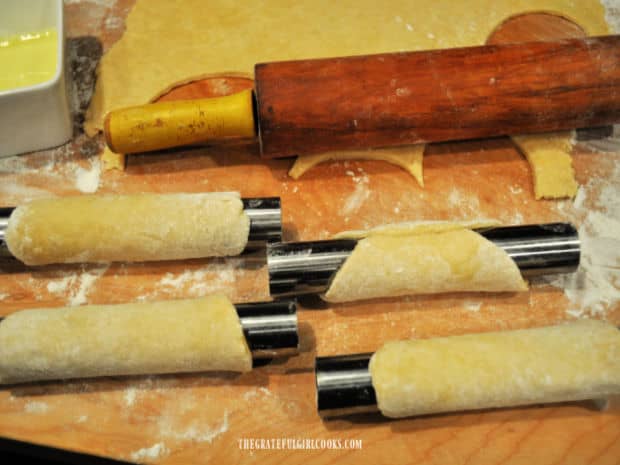
Lay a metal cannoli tube (bought a set of 4 on Amazon for about $7) across the middle of a dough circle. Wrap the dough around the cannoli tube, and seal the edges together with a slightly beaten egg white (acts like glue), to hold the two seams together. Press the seam together, to ensure the cannoli shells seal properly and hold together when frying.
Use your fingers to slightly flare the edges (on both ends) of the dough out a little bit before frying the cannoli shells.
Cook The Cannoli Shells
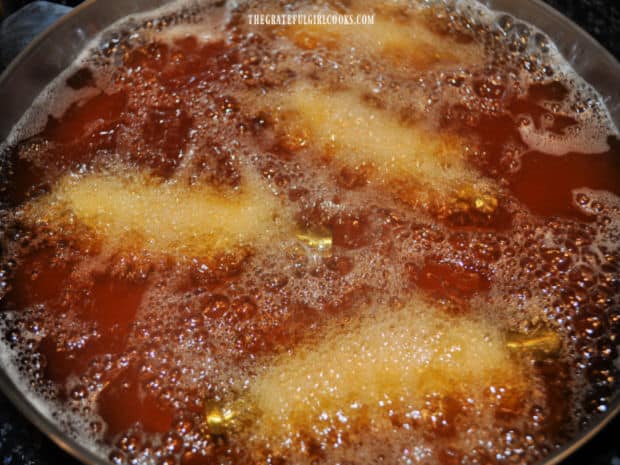
Heat oil in a large skillet (or electric skillet) until it reaches 350°F. Fry 3-4 cannoli shells at a time in the hot oil for ONE MINUTE, turning until they become golden in color on all sides.
NOTE: If using a smaller skillet, only cook 2-3 at a time so the cannoli don’t touch while cooking.
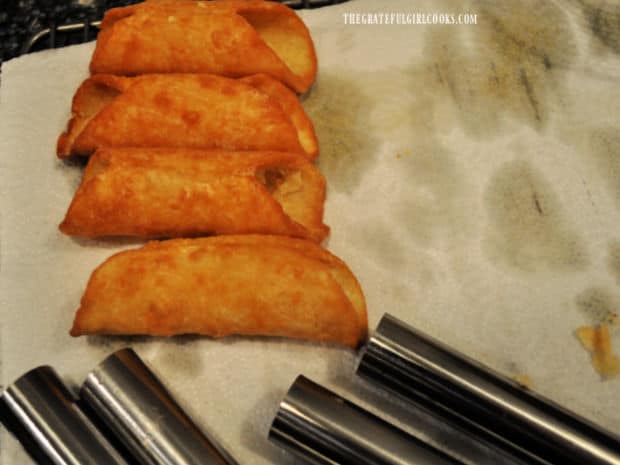
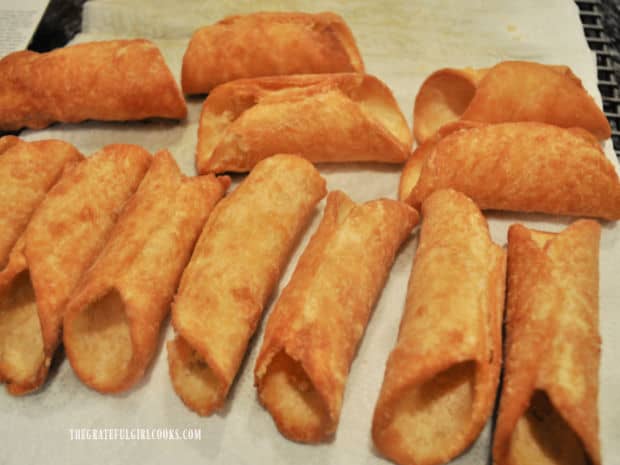
Use tongs to carefully remove the cannoli shells from the hot oil and transfer them to paper towels to drain. Allow the fried cannoli shells to cool for 5-8 seconds, then carefully slide them off the metal tubes onto paper towels.
Next Batch!
Wrap the next batch of cannoli shells back onto the metal forms, making sure to seal them well. Re-check the temperature of the oil to make sure it is 350°F. before adding the cannoli shells..
Repeat the cooking process until all the cannoli dough has been used. Let the cannoli shells cool completely after frying, before decorating and filling the shells.
NOTE: If you want to FREEZE some of the shells for later use, wrap the cooled shells carefully, then store them in the freezer in an airtight container. When you are ready to use them, thaw and then decorate shells and fill with cold ricotta mixture before serving.
Decorating The Citrus Cannoli Shells
Decorating the cooled cannoli shells is optional, but it really gives them a wonderful look! Melt semi sweet chocolate chips in a double boiler (or in the microwave) until completely smooth.
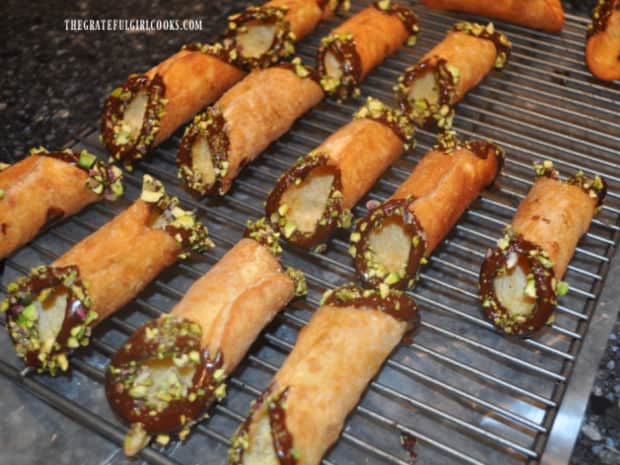
Lightly dip the ends (both sides) of the cannoli shells into melted chocolate, then immediately sprinkle the chocolate with finely chopped pistachios. You can also sift powdered sugar onto the shells, if desired.
Place the shells on a wire rack after decorating, and let them cool completely at room temperature until the chocolate has hardened. TIP: I find it helpful to put wax paper, foil, or parchment paper UNDER the wire rack to catch any drips, etc..
Serve The Citrus Cannoli
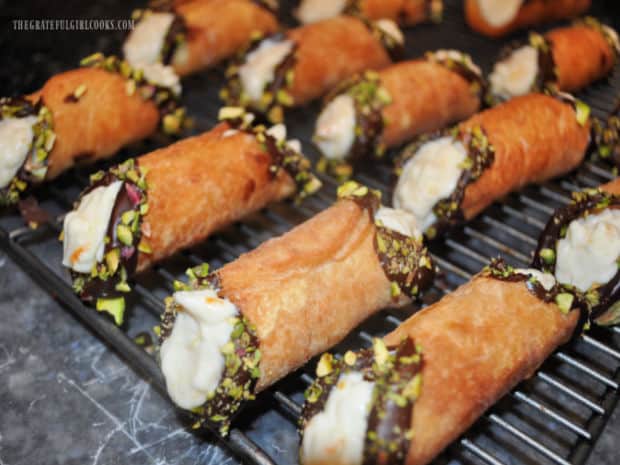
Remove the chilled citrus ricotta filling from the refrigerator. Use a pastry bag to pipe the filling into each of the shells. I pipe it into both ends of the cannoli shell.
If you don’t have a pastry bag, you can add the citrus filling to a zip-loc bag. Snip a corner off a bottom edge to pipe it, OR you can carefully fill the shells using a small spoon.
NOTE: Citrus cannoli are at their very best when eaten on the same day they are made. The shells are much crisper that way, the way you want them to be.
Yes, you can refrigerate leftovers, but honestly, the shells will soften up when filled and refrigerated, so it’s not recommended.
I hope you have the chance to try making this recipe for yummy citrus cannoli. They’re really good! Thanks for stopping by, and I invite you to come back soon for more family-friendly recipes. Take care, may God bless you, and have a GREAT day.
Looking For More DESSERT Recipes?
You can find ALL of my recipes in the Recipe Index, which is located at the top of the page. I have lots of yummy dessert recipes for you to enjoy, including:
Want More Recipes? Get My FREE Newsletter!
I publish a newsletter 2 times per month (1st and 15th) with lots of recipes, tips, etc..
Would you like to join our growing list of subscribers?
There is a Newsletter subscription box on the top right (or bottom) of each blog post, depending on the device you use.
You can submit your e-mail address there, to be added to my mailing list.
Find Me On Social Media:
Facebook page: The Grateful Girl Cooks!
Pinterest: The Grateful Girl Cooks!
Instagram: jbatthegratefulgirlcooks
Recipe adapted from our friend, Diane Mueller
↓↓ PRINTABLE RECIPE BELOW ↓↓

Make about 15 (or more) delicious Citrus Cannoli, with sweetened orange ricotta filling, and decorated with chocolate and chopped pistachios!
- 4 cups ricotta cheese drained
- 1½ cups un-sifted powdered sugar
- 4 teaspoons vanilla extract
- ½ cup finely grated orange zest orange peel, not the white pith
- 1¾ cup all purpose flour
- ½ teaspoon salt
- 2 teaspoons granulated sugar
- 1 large egg slightly beaten
- 2 Tablespoons COLD butter cut in small pieces
- ¼ cup Marsala wine
- 1 large egg white slightly beaten
- OIL, for frying 1" deep in skillet used
- ½ cup semi sweet chocolate chips
- ½ cup chopped pistachios
Place ricotta in a wire mesh strainer over a bowl. Let liquid drain (and discard). Place ricotta in blender. Cover and blend until smooth (can use electric mixer). Put ricotta in a large bowl. Gently FOLD in powdered sugar (un-sifted), vanilla, and orange zest. Continue to fold in, until fully incorporated. Cover bowl; refrigerate ricotta filling until ready to fill cannoli shells.
To make cannoli shell dough, sift flour, salt and sugar into large bowl. Create a "well" in the center. Add slightly beaten egg and cold butter (cut in pieces) to the "well". Stir egg/butter pieces into flour, from the outside in, to incorporate them into flour mixture. Add Marsala wine, one Tablespoonful at a time, stirring only until dough clings together. Use your hands to shape dough into a firm round ball. Wrap dough tightly with plastic wrap. Let dough rest at room temperature for 15 minutes before unwrapping.
Unwrap dough; place it on lightly floured work surface. Roll dough out with rolling pin until about ¼" thick. Use a 3½" round biscuit or cookie cutter to cut out circles of dough. Roll each circle just a bit more into a slightly oval shape. You should have approx. 15-18 dough circles (sometimes more).
Lay metal cannoli tube across middle of the dough circle. Wrap dough around metal tube; seal edges together well, brushing them with lightly beaten egg white, to hold seams together; pinch seam together. This is an important step, to ensure cannoli shells seal properly and hold together when frying. Use fingers to slightly flare edges (on both ends) of dough out a bit before frying.
Heat oil (2" deep) in a large skillet (or electric skillet) until it reaches 350°F. Fry 3-4 cannoli shells at a time for ONE MINUTE, turning as they cook until they become golden in color on all sides. NOTE: If using a smaller skillet, only cook 2-3 at a time so cannoli don't touch while cooking. Use tongs to carefully remove cooked shells from hot oil; transfer to paper towels to drain. Let shells cool for 5-8 seconds, then carefully slide them off (hot) tubes onto paper towels. Re-check oil temp. for each batch to make sure it is at 350°. Repeat cooking process until all dough has been used. Let shells cool completely before decorating and filling. NOTE: If you want to FREEZE some shells for later use, wrap cooled shells carefully; store in freezer in airtight container. When ready to use, thaw and decorate shells; fill with cold ricotta mixture before serving.
To decorate cannoli shells, melt chocolate chips in double boiler (or microwave) until smooth. Lightly dip both ends of shells into melted chocolate; immediately sprinkle chocolate with chopped pistachios. Place shells on a wire rack after decorating; cool at room temp. until chocolate hardens. TIP: I find it helpful to put wax paper, foil, or parchment paper UNDER the wire rack to catch any drips, etc..
Remove cold ricotta filling from refrigerator. Use a pastry bag to pipe filling into cannoli shells (both ends). TIP: No pastry bag? Add ricotta filling to a zip-loc bag. Snip a corner off bottom of bag to pipe it, OR fill shells using a small spoon. NOTE: Citrus cannoli are at their best, eaten the same day they're made. Cannoli shells are crisper that way. Yes, you can refrigerate leftovers, but the shells will soften when filled and refrigerated, so it's not recommended.
NOTE: Caloric calculation was based on 1 cannoli out of a total of 15 cannoli being made. It also includes the optional chocolate and pistachio decorations. If made WITHOUT the chocolate and pistachio, each of the 15 cannoli would have a caloric calculation of approx. 248 calories each.
Here’s one more to pin on your Pinterest boards!