Category: Lunch – Quick and Easy

Grilled Chicken & Spring Greens w/ Raspberry Balsamic Dressing

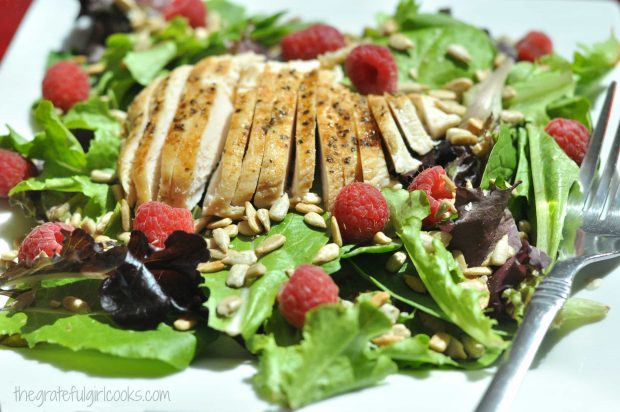
I had the best salad the other day for lunch! I was intent on making a healthy lunch, and I came up with this Grilled Chicken & Spring Greens with Raspberry Balsamic Dressing! And let me tell you… I loved every single bite (and crunch, thanks to the sunflower seeds)!Grilled Chicken & Spring Greens w Raspberry Balsamic Dressing / The Grateful Girl Cooks!
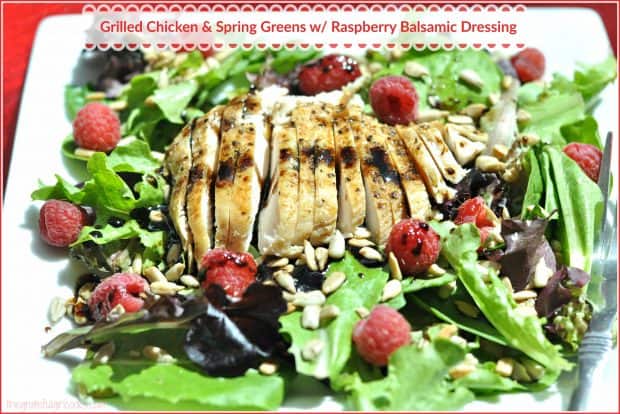
This was such an easy salad to put together! I pre-grilled the chicken early in the morning (on my handy-dandy indoor grill… Thanks, George Foreman!), so all that was involved at lunch time was to assemble the salad and whip up some dressing (under a minute).

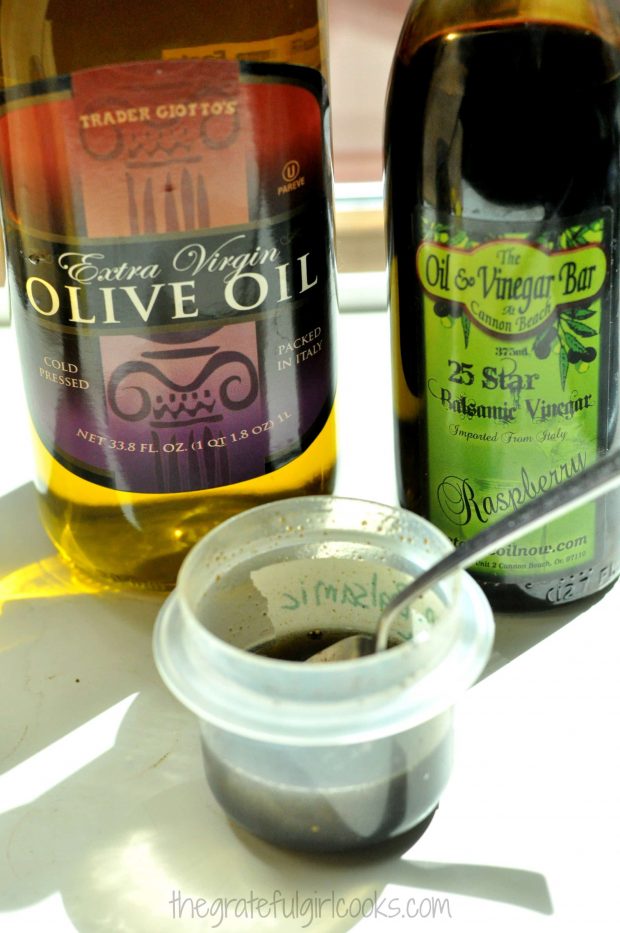
I used some Raspberry Balsamic Vinegar that I had previously purchased at a specialty shop on the Oregon coast, but in case you don’t happen to have any just laying around waiting to be used, I have seen numerous “flavored” balsamic vinegars at local grocery stores.

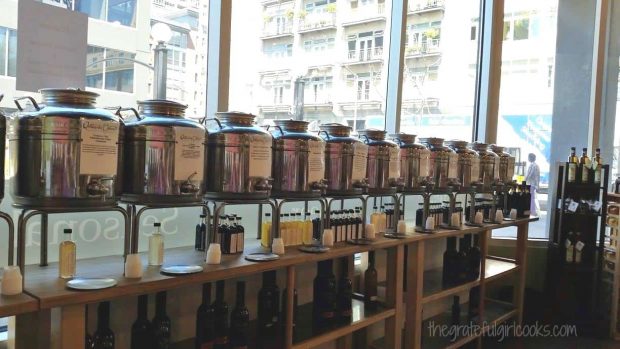
Here’s a picture I took at a Flavored Olive Oil and Balsamic Vinegar tasting shop I visited with a friend, in downtown Seattle last summer (so fun to sample different flavors!). I left there with bottles of dark chocolate balsamic vinegar and blood orange olive oil- put the two together…oh my crazy goodness!

Grilled Chicken & Spring Greens w Raspberry Balsamic Dressing / The Grateful Girl Cooks!

It’s fun to experiment with different flavored balsamic vinegars…they are slightly thick and sweet! I have several flavors, including peach & cinnamon, dark chocolate, and my beloved raspberry! YUM.  If you don’t have access to “flavored” balsamic vinegar, rest assured…you can easily substitute regular aged balsamic vinegar in the dressing, and it will still taste great!

I like to make extra and keep grilled chicken on hand for last minute salads, quesadillas, tacos, etc., but if you don’t, here’s what you do. Slice a large chicken breast in half horizontally, then sprinkle it lightly on one side with garlic powder, coarse black pepper, celery salt, and seasoning salt.  Then grill it, bake it or broil it… whatever technique you prefer, and let the chicken cool down a bit (so it’s warm) before slicing it into thin strips and adding it to your salad.

Make The Salad Dressing

To make the salad dressing, mix equal parts balsamic vinegar and olive oil until completely blended, then add a tiny bit of salt and pepper, to taste. For one salad, I mixed 2 teaspoons olive oil and 2 teaspoons balsamic vinegar (& had some leftover!)

Grilled Chicken & Spring Greens w Raspberry Balsamic Dressing / The Grateful Girl Cooks!

I assembled chilled Spring Greens on a plate, added fresh raspberries, then sprinkled it with roasted sunflower seeds. I thinly sliced the warm grilled chicken breast, placed it on the top of the salad, then lightly drizzled the Raspberry Balsamic dressing over the top.

I am not posting an official “printable recipe”, because it’s really a simple salad to prepare, especially if you want to add other ingredients to make it “your own”.   I have highlighted the directions in blue (see above), for your convenience, however.

Be creative!  I’ve even used a Peach/Cinnamon balsamic to make this salad, as well. Just substitute fresh peach slices for the raspberries! Just arrange the salad, then drizzle with the dressing!

Grilled Chicken & Spring Greens w Raspberry Balsamic Dressing / The Grateful Girl Cooks!

I truly LOVE this salad (contemplating just how many times I can eat this before I ever get tired of it…), and hope you will consider making it. It’s a very healthy salad (protein, veggies, healthy oil, and fruit!)… and I trust you will LOVE it, too!

Have a fantastic day… may God bless you, and the work of your hands.

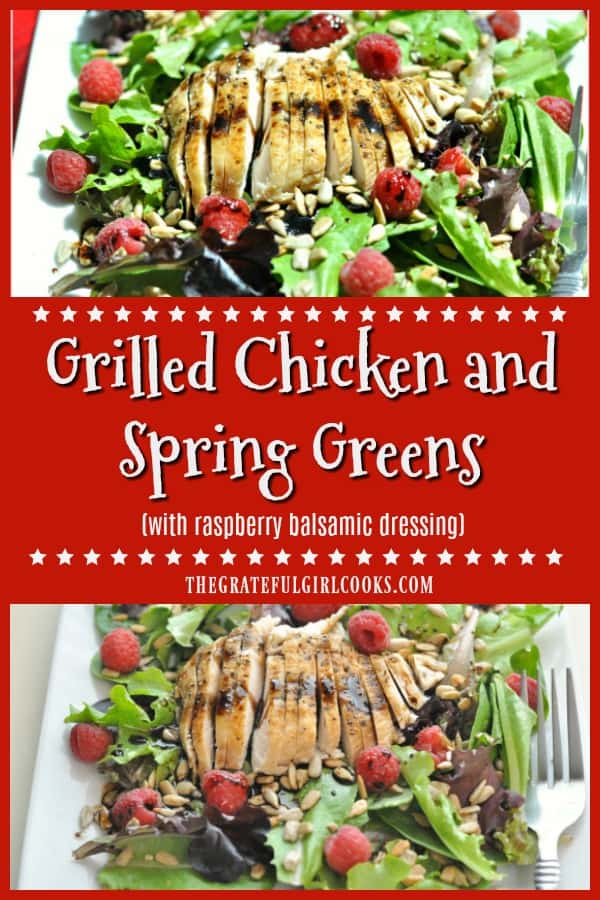
Here’s one more to pin on your Pinterest boards!Grilled Chicken & Spring Greens w Raspberry Balsamic Dressing / The Grateful Girl Cooks!
Interested In More Recipes?

Thank you for visiting this website. I appreciate you using some of your valuable time to do soIf you’re interested, I publish a newsletter 2 times per month (1st and 15th) with all the latest recipes, and other fun info. I would be honored to have you join our growing list of subscribers, so you never miss a great recipe!

There is a Newsletter subscription box on the top right side (or bottom) of each blog post, depending on the device you use, where you can easily submit your e-mail address (only) to be included in my mailing list.
You Can Also Find Me On Social Media:
Facebook page: The Grateful Girl Cooks!
Pinterest: The Grateful Girl Cooks!
Instagram: jbatthegratefulgirlcooks

Grilled Chicken & Spring Greens w/ Raspberry Balsamic Dressing

Save

Save

Tuna Avocado Cup

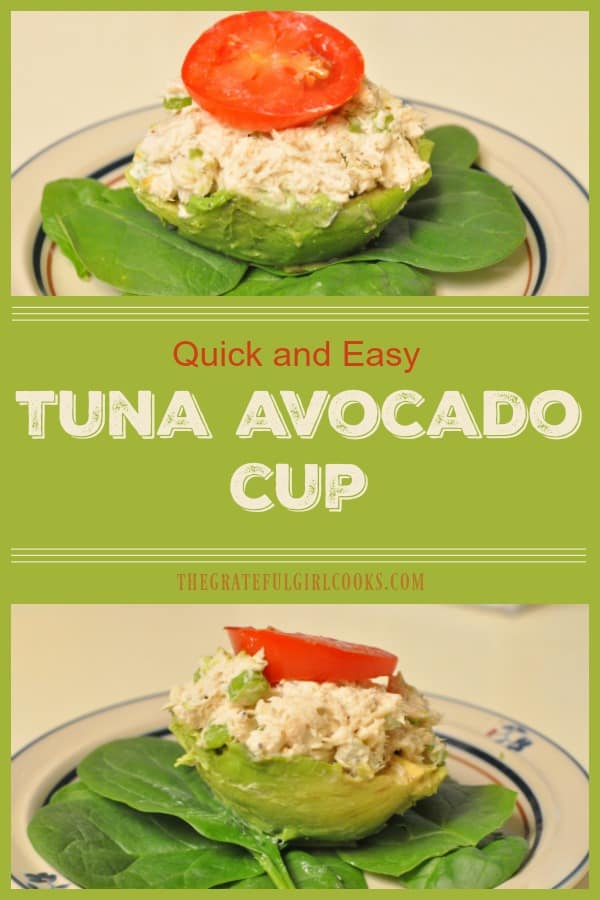
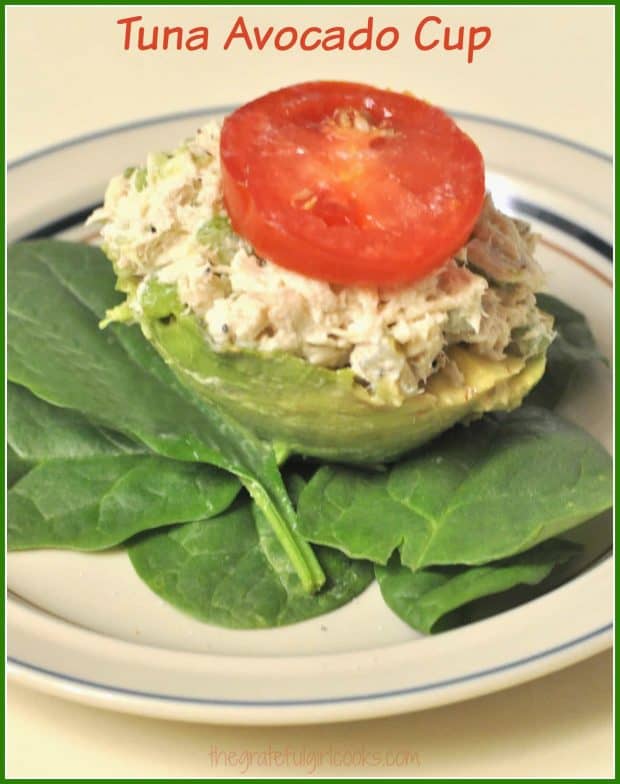
If you need a quick, healthy lunch on the go, why not try a yummy Tuna Avocado Cup? Tuna salad, served in it’s own edible “bowl”.If you need a quick, healthy lunch on the go, why not try a yummy Tuna Avocado Cup? Tuna salad, served in it's own edible "bowl".

The other day I made a Tuna Avocado Cup for lunch. I really didn’t want to make a sandwich (didn’t want the bread calories), so I made this instead… and it tasted GREAT! I thought I would post this idea for a quick, filling lunch, to keep the old body “fueled up” on busy days!

It’s SO EASY To Make A Tuna Avocado Cup!

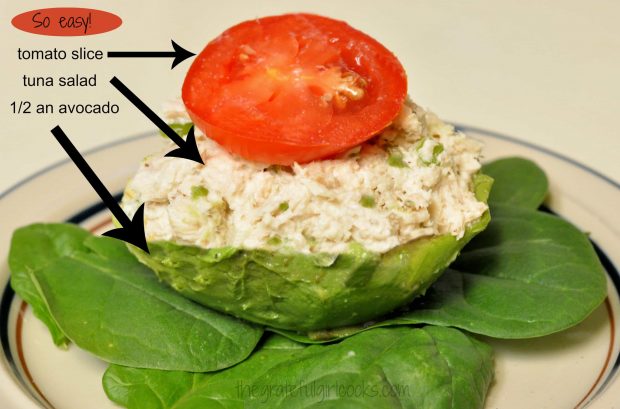
No written recipe is needed for this “quick-and-easy-to-throw-together” lunch.  All you need is some tuna salad (already made up – mine had light mayo, celery & dill pickle).You will also need a half an avocado cup per serving, a slice of tomato, a little salt and pepper to taste, and some lettuce or spinach leaves for the base.

Using a spoon, completely scoop out one half of an avocado  in one piece. Run the spoon around the edges of the avocado and remove it carefully to a lettuce or spinach lined plate.

Tuna Avocado Cup on bed of spinach leaves, ready to eat!

Scoop tuna salad into avocado half, mounding it up in the middle. Top with a slice of ripe tomato. Season to taste, with salt and pepper… and boom! Instant lunch! Do you know just how GOOD avocados are for you? Very good.

I used a fork to cut the tuna avocado cup, then actually scooped the bite up with spinach leaves which held it together very well. This was a nice, filling nutritious lunch without the calories from using bread.

If you need a quick, healthy lunch on the go, why not try a yummy Tuna Avocado Cup? Tuna salad, served in it's own edible "bowl".

The plus was that the tuna avocado cup only took a couple minutes from start to finish to make. Any time you can make lunch that quick is a good thing! Thought I would share this easy idea for a tuna avocado cup, in the hopes that you might consider trying it, as well! Have a fantastic day, friends.

Looking For More TUNA Recipes?

You can find ALL my recipes in the Recipe Index, located at the top of the page. I have several recipes featuring tuna that you might enjoy, including:

Interested In More Recipes?

Thank you for visiting this website. I appreciate you using some of your valuable time to do soIf you’re interested, I publish a newsletter 2 times per month (1st and 15th) with all the latest recipes, and other fun info. I would be honored to have you join our growing list of subscribers, so you never miss a great recipe! 

There is a Newsletter subscription box on the top right side (or bottom) of each blog post, depending on the device you use, where you can easily submit your e-mail address (only) to be included in my mailing list.
You Can Also Find Me On Social Media:

Facebook page: The Grateful Girl Cooks!
Pinterest:
The Grateful Girl Cooks!
Instagram:
jbatthegratefulgirlcooks

Author's signature


Save

Save

Save

Quick and Easy Open Faced Tuna Melts

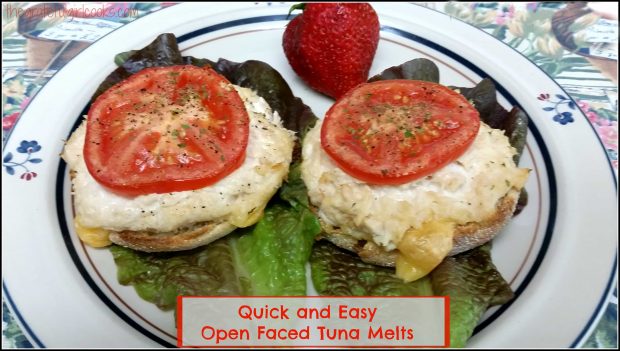
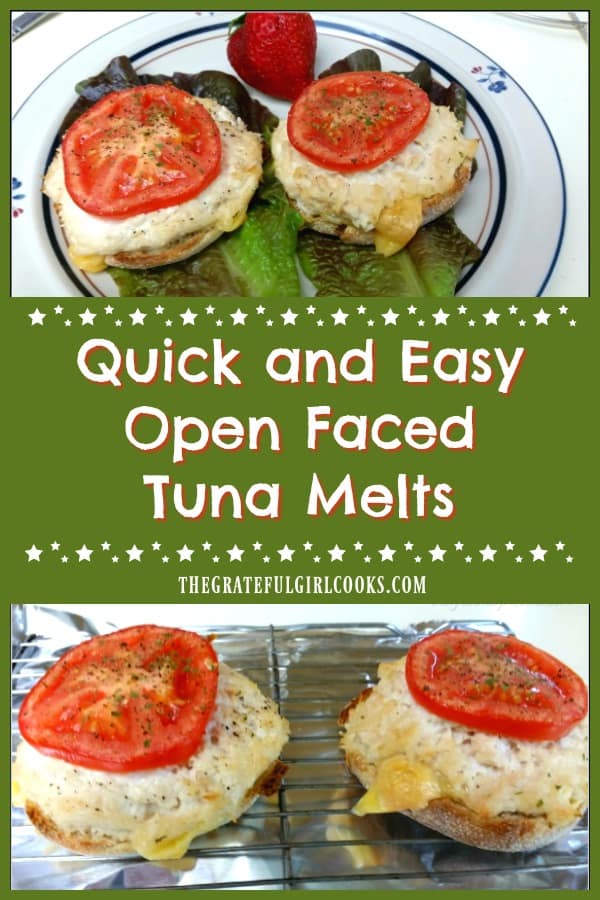
It’s been unusually HOT in the Pacific Northwest for the past several weeks. Temps are supposed to hover near 100 degrees this coming weekend, which is “not the norm” for late June in Oregon. We want quick  and easy meals (don’t want to heat up the kitchen cooking). Enter our “go-to” standby… Quick and Easy Open Faced Tuna Melts!!!!Quick and Easy Open Faced Tuna Melts / The Grateful Girl Cooks!
These open faced tuna melts are ridiculously easy… so easy in fact, that I’m not even gonna post the “recipe”. They actually are delicious, and are very quick to prepare!

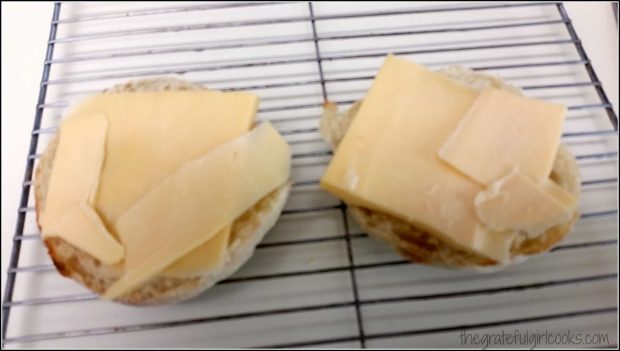
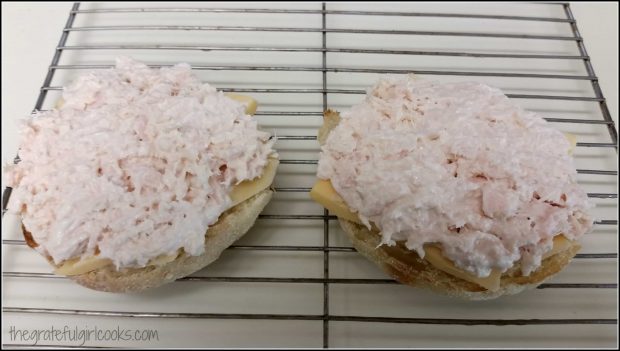
First you toast some English muffins. I used sourdough (delicious!). Allow for one half or two halves per serving. Once toasted, place some cheese (gruyere, smoky gouda, or cheddar) on top of the muffin. (I have used all of these cheeses in the past. Pictures are with Smoky Gouda.

Quick and Easy Open Faced Tuna Melts / The Grateful Girl Cooks!
Put some tuna on top to cover the muffin. (Use the tuna you prefer, mixed up with whatever you like in your tuna salad). All I used for mine was one can (one can is enough for 4 half muffins) of albacore tuna, mixed with mayonnaise. That’s it!  But for goodness sake, make your tuna the way you like it!

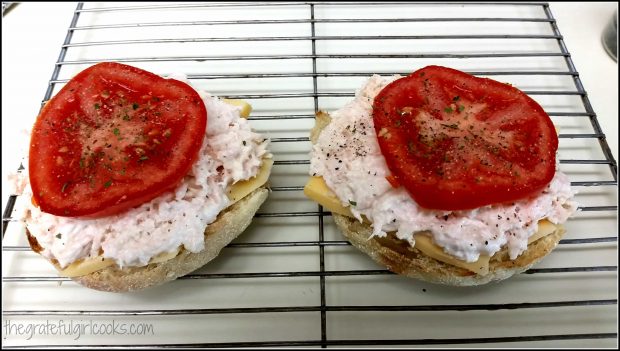
Quick and Easy Open Faced Tuna Melts / The Grateful Girl Cooks!
Slice some really good ripe tomatoes and put a slice on top of each muffin. Sprinkle with a pinch of salt, pepper, dried parsley and dried basil. Just a touch.

Quick and Easy Open Faced Tuna Melts / The Grateful Girl Cooks!
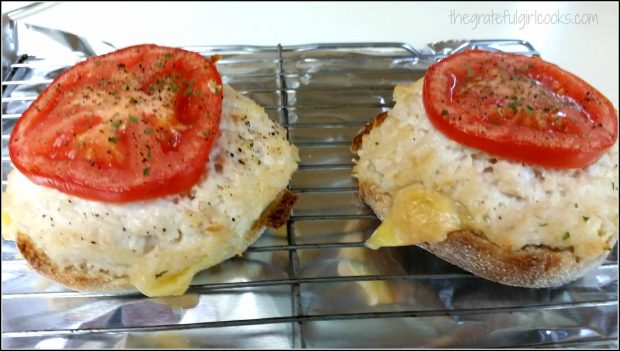
Put the english muffins on a wire rack and place under a broiler. DO NOT put them directly under the broiler. Put them on the middle rack of your oven.

It will take a few minutes to broil them, but by putting them on the middle rack, instead of directly under the broiler, all the ingredients will have a chance to get hot, and that cheese on the bottom will melt.

Remove from broiler when cheese is bubbly and the tuna has just started to lightly turn golden.

Quick and Easy Open Faced Tuna Melts / The Grateful Girl Cooks!
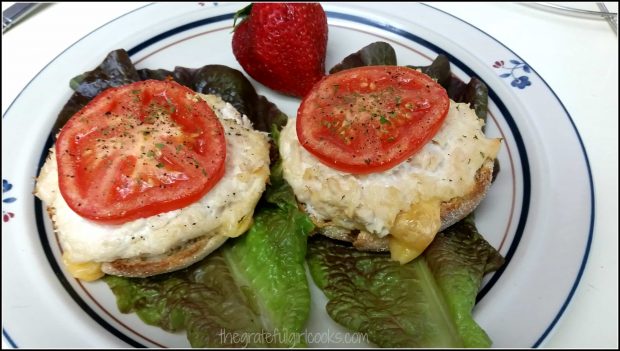
Remove tuna melts from wire rack with a spatula. Place on serving plates. I like to put some red leaf lettuce leaves under the tuna melts just for some added color, to make it look good, but that is totally optional.

You can either pick them up and eat them or cut them with knife and fork… whatever suits you! They’re really delicious! Sure hope you’ll give ’em a try. Good for a quick, filling lunch, or dinner on a really HOT evening! Been making these for years and years, and have never been disappointed!

Quick and Easy Open Faced Tuna Melts / The Grateful Girl Cooks!Have a wonderful week… may you feel gratitude for all you experience this week, and above all else…may you deeply know just how much God loves you!

Interested In More Recipes?

Thank you for visiting this website. I appreciate you using some of your valuable time to do soIf you’re interested, I publish a newsletter 2 times per month (1st and 15th) with all the latest recipes, and other fun info. I would be honored to have you join our growing list of subscribers, so you never miss a great recipe!

There is a Newsletter subscription box on the top right side (or bottom) of each blog post, depending on the device you use, where you can easily submit your e-mail address (only) to be included in my mailing list.

You Can Also Find Me On Social Media:
Facebook page: The Grateful Girl Cooks!
Pinterest: The Grateful Girl Cooks!
Instagram: jbatthegratefulgirlcooks

Quick and Easy Open Faced Tuna Melts / The Grateful Girl Cooks!


Here’s one more to pin on your Pinterest boards!Quick and Easy Open Faced Tuna Melts / The Grateful Girl Cooks!

Save

Save

Chili & Cheese Stuffed Spud

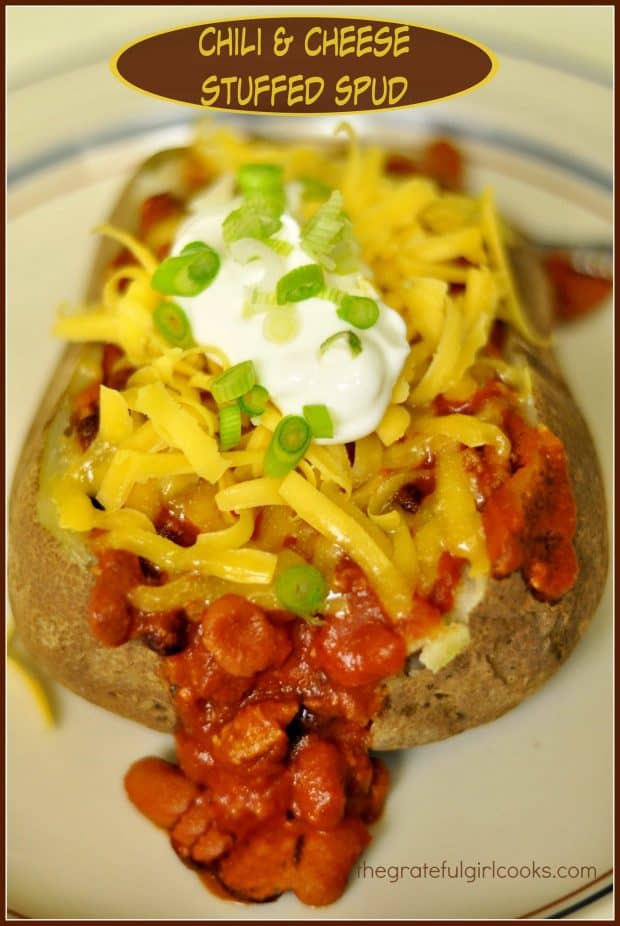
Need a quick, filling lunch or dinner that is REALLY easy? Why not make a chili cheese stuffed spud, with sour cream, cheddar cheese and green onions!Need a quick, filling lunch or dinner that is REALLY easy? Why not make a chili cheese stuffed spud, with sour cream, cheddar cheese and green onions!
Ever have those moments when you just don’t want to cook dinner? What? You do, too??? Shocking! I had one of those moments recently (several times, actually). I ended up making a Chili Cheese Stuffed Spud for my husband and I.

I was too tired to “want” to fix anything, so I  heated up some leftover chili I had in the fridge (Mom’s Old-Fashioned Chili). Use any kind of chili you like! Then I stuffed a big beast-like “baker” potato with the chili.  You know – the BIG potatoes!

That humongous potato was filled with the chili, then topped with cheese, sour cream and green onions, and POOF! Dinner was served! Or as I like to say: “Dinner is served. I am offering two choices tonight for your dining pleasure. 1) Take It, or 2) Leave It.”

A Chili Cheese Stuffed Spud Is A Filling Meal!

This was a delicious, filling, “all-in-one” dinner.  “Ya got your potato, ya got your chili with meat and beans, ya got your cheese, ya got your sour cream, and ya got your green onions” (said with a deep New York accent, of course!). Geepers, if you threw some chocolate on there, you would have almost ALL the food groups represented… but I digress.

I threw (translation: gently and lovingly placed) the potatoes in the oven and baked them, but if you’re pressed for time, just microwave them… easy peasy, either way! Did you know that potatoes are the world’s 4th largest field crop? Yep. It’s true. (Random factoid for the day).

This is such an easy dish to prepare… and it really did fill up our hungry tummies! It’s so versatile… you can take away, or add anything you want (like veggies) to “make it yours”. Just thought I’d share it with you on the ol’ blog today. We sure don’t eat these too often at our house, but every now and then, it’s a quick, economical, and filling meal.

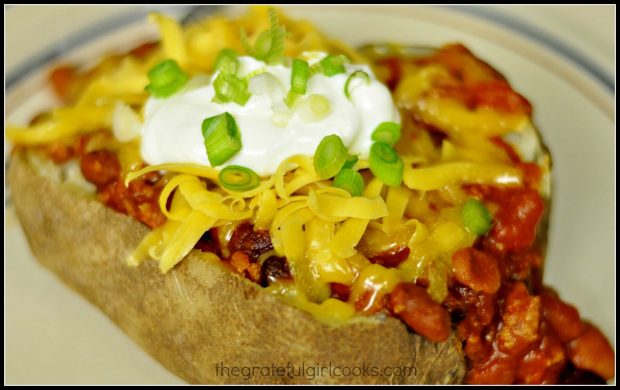
Chili cheese stuffed spud, topped with sour cream, grated cheese & scallions.

The Basics of Making A Chili Cheese Stuffed Spud

I’m not even going to post a recipe for this, because it’s so very basic… Bake (or microwave) a large potato, slice open, generously fill it with hot chili, then top with grated cheddar cheese, a generous dollop of sour cream, and some sliced green onions.

Seriously… how easy is that? Hope you will consider making these Chili & Cheese Stuffed Spuds, especially for those moments when your private chef, caterer, or entire kitchen staff get horribly sick and can’t prepare your evening meal. (*cough, cough*).  But we ALL know this situation would NEVER happen on Downton Abbey, would it now?

Have a wonderful day. Be sure and check out ALL of my recipes in the Recipe Index, which is located at the top of the page. I have a LOT of family-friends recipes I am confident you will enjoy.

Interested In More Recipes?

Thank you for visiting this website. I appreciate you using some of your valuable time to do soIf you’re interested, I publish a newsletter 2 times per month (1st and 15th) with all the latest recipes, and other fun info. I would be honored to have you join our growing list of subscribers, so you never miss a great recipe! 

There is a Newsletter subscription box on the top right side (or bottom) of each blog post, depending on the device you use, where you can easily submit your e-mail address (only) to be included in my mailing list.
You Can Also Find Me On Social Media:

Facebook page: The Grateful Girl Cooks!
Pinterest:
The Grateful Girl Cooks!
Instagram:
jbatthegratefulgirlcooks

Author's signature

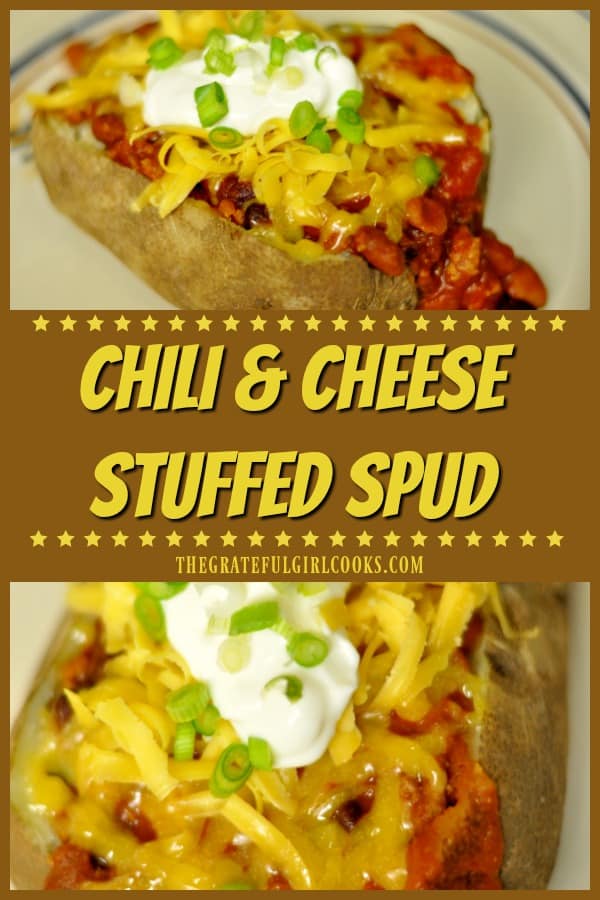
Here’s one more to pin on your Pinterest boards!Need a quick, filling lunch or dinner that is REALLY easy? Why not make a chili cheese stuffed spud, with sour cream, cheddar cheese and green onions!

Save

Save