You’ll love this recipe for Weight Watchers French Onion Soup, with caramelized onions! All the flavor without the extra calories!
If you enjoy a robust, flavor-filled bowl of soup, but are dieting OR looking to cut a few calories, then you will LOVE this recipe for Weight Watchers French Onion Soup! It has caramelized onions and the amazing flavor of the original, but with less calories!
On a cold day recently, I was craving a big bowl of French Onion Soup, but since I am watching my calories, and have lost over 26 pounds the past several months, I wanted the TASTE of this delicious soup, but without the extra calories from bread and that yummy, gooey CHEESE! The most difficult thing about making this (and it’s a cinch), is cutting up those crazy onions (wiping away the tears!).
So… I found this recipe using my Weight Watchers app, and decided to try it. The original recipe was designed to use a slow cooker, but it took almost 12 hours to make, so I modified the recipe so it could be made on the stove top in about 40 minutes total (prep and cook time). OH MY GOODNESS… it is so incredibly delicious! The caramelized onions swimming in a rich, flavorful broth, and a bit of Parmesan cheese on top tasted amazing. I didn’t even miss the bread! You need to make this soup ASAP!
My husband and I LOVED this meal, and since a serving size is 1½ cups, we each had a large bowl of soup (with a salad on the side). *Note: I made HALF the recipe… so my photos reflect this!) Here’s how easy it is to make:
Scroll Down For A Printable Recipe Card At The Bottom Of The Page
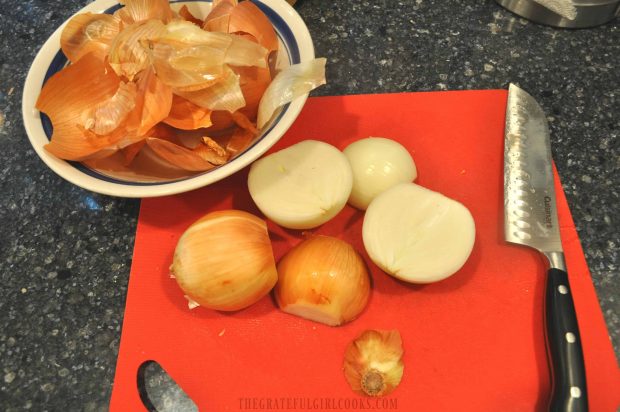
Prepare The Onions (and wipe away the tears)
Peel onions and thinly slice. Remember, slicing onions is not for sissies… (wiping away more tears). I cut them in half (top to bottom), then peeled them and then sliced.
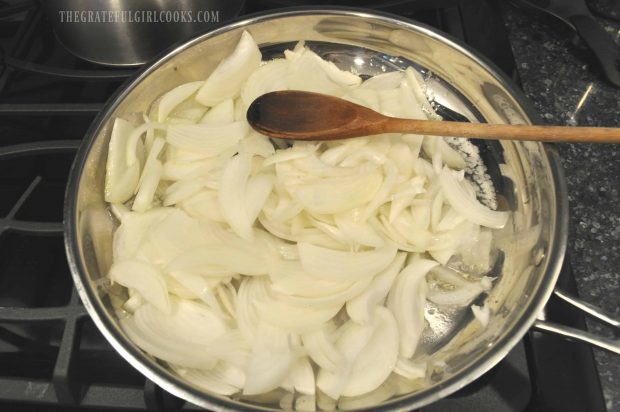
Caramelize The Onions
Melt butter in large skillet. Add sliced onions and salt. Cook on medium heat until the onions are well browned, stirring often. This will take about 20 minutes. I made a salad while the onions were cooking, but came back and gave them a good stir every few minutes!
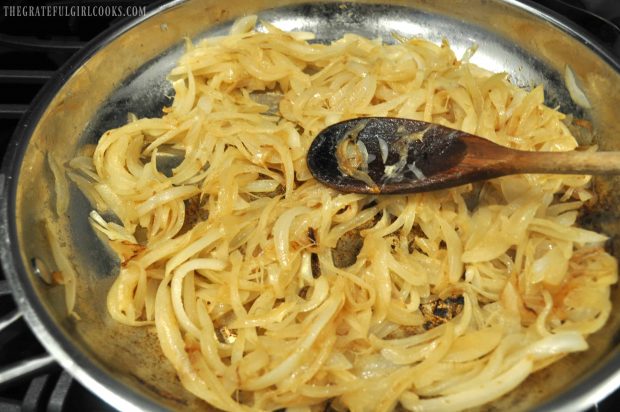
**Here’s my tip on cooking the onions… don’t rush the process. Take your time cooking the onions… you want them nice and brown, caramelized, soft and fragrant, for the best tasting soup!
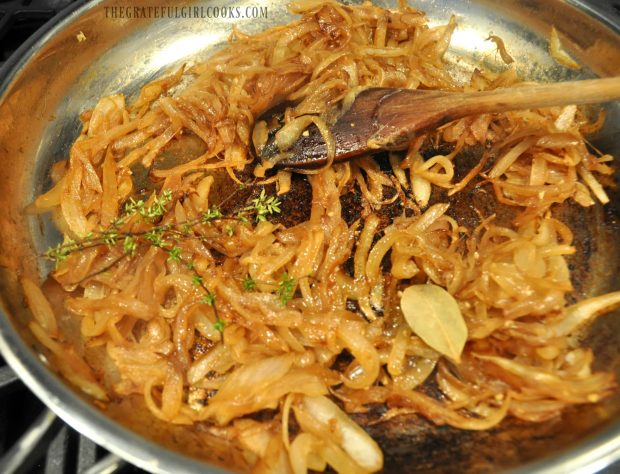
Finish “Building” The Weight Watchers French Onion Soup
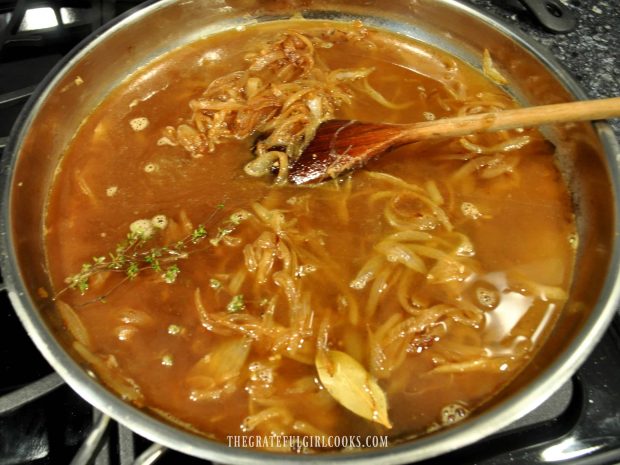
Once the onions are wonderfully brown (and smell so good!), add a bay leaf and some fresh thyme to the skillet. If you do not have access to fresh thyme, you can add dried thyme, but you will need to reduce the amount by 1/3, since dried herbs are more concentrated in flavor.
Add sherry, minced garlic, sugar, chicken broth and beef broth to skillet. Stir well, to combine all ingredients. Let this cook for 20 minutes, stirring occasionally. This will allow the alcohol (sherry) to burn off, and allow the flavors to develop. When done, remove bay leaf and thyme sprigs from soup. Stir in soy sauce and black pepper.
Time To Eat!
Ladle the soup into bowls, and immediately garnish each serving with 1/2 Tablespoon grated Parmesan cheese and fresh thyme (if desired). Serve, and enjoy! Here’s a photo of my bowl of soup BEFORE I gobbled it up!.

Shown below is a photo of my husband’s bowl of soup. He wanted a bit of the traditional melted “stringy” cheese on his at the last minute, so I grabbed a thin slice of Swiss cheese we keep on hand for sandwiches.
The cheese was put on the top and I microwaved the soup for about 30 seconds to melt the cheese. It was nice and “gooey” and stringy… just the way he likes it (and only added 70 more calories!)

We both really loved this soup! If you happen to follow a Weight Watchers plan, the total for this delicious bowl of “yummy-ness” is 3 Smart Points! I highly recommend this recipe… low in calories, high in taste and satisfaction! Have a great day!
Looking For More SOUP Recipes?
You can find all of my recipes in the Recipe Index, located at the top of the page. I have LOTS of yummy soup recipes to check out, including:
Interested In More Recipes?
Thank you for visiting this website. I appreciate you using some of your valuable time to do so. If you’re interested, I publish a newsletter 2 times per month (1st and 15th) with all the latest recipes, and other fun info. I would be honored to have you join our growing list of subscribers, so you never miss a great recipe!
There is a Newsletter subscription box on the top right side (or bottom) of each blog post, depending on the device you use, where you can easily submit your e-mail address (only) to be included in my mailing list.
You Can Also Find Me On Social Media:
Facebook page: The Grateful Girl Cooks!
Pinterest: The Grateful Girl Cooks!
Instagram: jbatthegratefulgirlcooks

Recipe Adapted From: https://www.weightwatchers.com
↓↓ PRINTABLE RECIPE BELOW ↓↓

You'll love this recipe for Weight Watchers French Onion Soup, with caramelized onions! All the flavor without the extra calories!
- 6-7 large uncooked brown onions , peeled and thinly sliced (approx. 3 lbs.)
- 2 Tablespoons unsalted butter
- 2 teaspoons salt
- 1 bay leaf
- 5 sprigs fresh thyme (plus extra if using for garnish)
- 1/4 cup sherry
- 2 teaspoons minced garlic
- 1 teaspoon granulated sugar
- 3 cups beef broth (reduced sodium)
- 3 cups chicken broth (reduced sodium)
- 1 teaspoon soy sauce (low sodium)
- 1/4 teaspoon black pepper
- 3 Tablespoons grated Parmesan cheese (to garnish hot soup)
- Additional sprigs fresh thyme (to garnish hot soup)
- Peel onions and thinly slice.
- Melt butter in large skillet. Add sliced onions and salt. Cook on medium heat until the onions are well browned, stirring every couple of minutes. This will take approximately 20 minutes. Once the onions are wonderfully brown (and smell so good!), add a bay leaf and fresh thyme sprigs to the skillet (if using dried thyme, reduce by 1/2 the amount used). Add sherry, minced garlic, sugar, beef broth and chicken broth to skillet. Stir well, to combine all ingredients. Let this mixture cook, uncovered for 20 minutes on medium heat, stirring occasionally. This will burn off the alcohol (sherry). When done, remove bay leaf and thyme sprigs from soup. Stir in soy sauce and black pepper.
- Ladle the hot soup into bowls, and immediately garnish each serving with 1/2 Tablespoon grated Parmesan cheese and fresh thyme (if desired). Serve, and ENJOY! (the leftovers are wonderful, as well!)
Here’s one more to pin on your Pinterest boards!


, with pasta, spinach, Italian spices, and diced tomatoes in 30 minutes! / The Grateful Girl Cooks!")


, with pasta, spinach, Italian spices, and diced tomatoes in 30 minutes! / The Grateful Girl Cooks!")


, with pico de gallo and tortilla strips! / The Grateful Girl Cooks!")
 / The Grateful Girl Cooks!")
 / The Grateful Girl Cooks!")
 / The Grateful Girl Cooks!")
 / The Grateful Girl Cooks!")
 / The Grateful Girl Cooks!")
 / The Grateful Girl Cooks!")
 / The Grateful Girl Cooks!")
 / The Grateful Girl Cooks!")
 / The Grateful Girl Cooks!")
 / The Grateful Girl Cooks!")
 / The Grateful Girl Cooks!")
 / The Grateful Girl Cooks!")

, with pico de gallo and tortilla strips! / The Grateful Girl Cooks!")