Enjoy some Cinnamon Mocha Coffee, with chocolate, cinnamon, brown sugar and nutmeg! This easy drink can be served hot, or enjoyed as an iced coffee.
Today I want to share with you a recipe I found in an old magazine I have in my collection of cookbooks and food magazines. The recipe is for cinnamon mocha coffee, and if you enjoy flavored coffees, you might want to try this delicious beverage!
Guess what? This recipe is simple: spiced and brewed strong coffee is combined with a sweet, homemade mocha, and the results are delicious! The recipe as written, will yield approximately six, 1 cup servings of this delicious cinnamon mocha coffee in just a few minutes.
Top it off with some whipped cream and more cinnamon, and you’ve got a tasty mug of coffee to sip and enjoy! Here’s how to make cinnamon mocha coffee, from scratch.
Scroll Down For A Printable Recipe Card At The Bottom Of The Page
Brew The Coffee
Place ground, DARK roast coffee grounds, ground nutmeg and cinnamon into a coffee filter in a drip coffee maker. Add water to the coffeemaker (5 cups), and brew, according to manufacturer instructions.

Prepare The Mocha
Now it’s time to make the mocha that will be added to the hot coffee after it is finished brewing. Measure milk, chocolate syrup and brown sugar into a medium saucepan. Stir until combined, and then cook on medium heat, stirring occasionally, until the brown sugar has dissolved.
Remove the pan from the heat, and then stir in vanilla extract. Pour this hot mocha mixture into the hot coffee as soon as it has finished brewing.
You can pour it directly into the coffee carafe, or transfer the coffee to a saucepan and add the mocha into that pan. Stir well, to fully combine the coffee and the mocha mixture.


Garnish And Serve The Cinnamon Mocha Coffee
Serve the cinnamon mocha coffee while very hot. Pour the coffee into mugs, and top each mug with a good sized dollop (or spray) of sweetened, whipped cream.
Sprinkle with a little finely grated chocolate (or cinnamon) on top of the whipped cream, and serve. It tastes great hot, especially on a really COLD day, or any day for that matter.


Care For An Iced Cinnamon Mocha Coffee?
If you are a fan of iced coffees, simply let the cinnamon mocha coffee cool completely (room temp. or refrigerated, so ice won’t melt and weaken the brew).
When ready to enjoy a cup of iced cinnamon mocha coffee, simply pour the coffee over crushed ice, and dollop with a shot of whipped cream and a sprinkle of cinnamon. It tastes great on a HOT summer day!

I really hope you try this recipe for cinnamon mocha coffee. You can store any leftovers in the refrigerator. Then reheat or add ice, depending on how you want to enjoy this flavorful coffee.
If you like flavored coffees, be sure to try my recipe for Orange Spiced Coffee. if has great flavor, too, and is easy to make! Thanks for stopping by, and please come back soon for more family-friendly recipes. Take care, and have a GREAT day!
Looking For More HOT or COLD BEVERAGE Recipes?
You can find ALL of my recipes in the Recipe Index, located at the top of the page. I have a nice variety of both hot and cold drinks, including:
- Valencia Orange Hot Chocolate
- Watermelon, Lime & Mint Agua Fresca
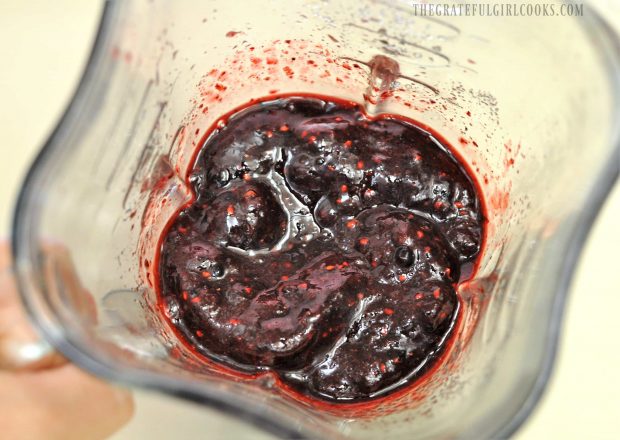
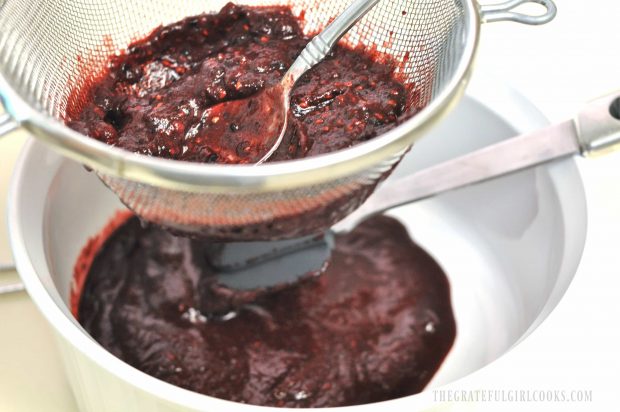
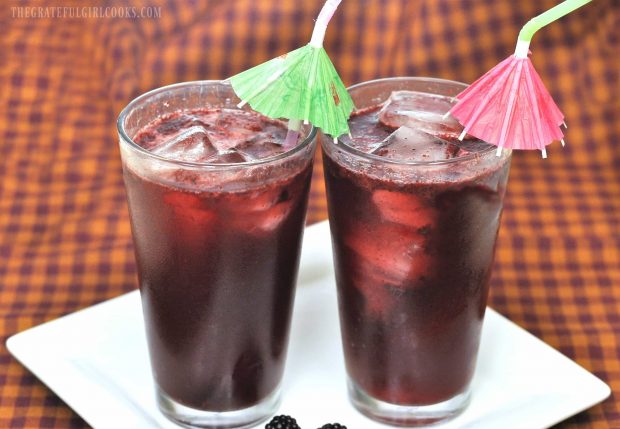
- Blackberry Soda
- Hot Spiced Apple Cider
Interested In More Recipes?
Thank you for visiting this website. I appreciate you using some of your valuable time to do so. If you’re interested, I publish a newsletter 2 times per month (1st and 15th) with all the latest recipes, and other fun info. I would be honored to have you join our growing list of subscribers, so you never miss a great recipe!
There is a Newsletter subscription box on the top right side (or bottom) of each blog post, depending on the device you use, where you can easily submit your e-mail address (only) to be included in my mailing list.
You Can Also Find Me On Social Media:
Facebook page: The Grateful Girl Cooks!
Pinterest: The Grateful Girl Cooks!
Instagram: jbatthegratefulgirlcooks

Original recipe source: “Taste of Home” magazine, April/May 2006 edition, page 10, published by Reiman Publications, Inc.

Enjoy some Cinnamon Mocha Coffee, with chocolate, cinnamon, brown sugar and nutmeg! This easy drink can be served hot, or as an iced coffee.
- ½ cup ground dark roast coffee
- 1 Tablespoon ground cinnamon
- ¼ teaspoon ground nutmeg
- 5 cups water
- 1 cup milk
- ⅓ cup chocolate syrup
- ¼ cup (packed) brown sugar
- 1 teaspoon vanilla extract
- whipped cream, cinnamon for garnish (optional)
Place ground, DARK roast coffee grounds, ground nutmeg and cinnamon into a coffee filter in a drip coffee maker. Add water to the coffeemaker (5 cups), and brew, according to manufacturer instructions.
Measure milk, chocolate syrup and brown sugar into medium saucepan. Stir until combined; cook on medium heat, stirring occasionally, until brown sugar has dissolved. Remove pan from heat; stir in vanilla. Pour hot mocha mixture into the brewed coffee as soon as it has finished brewing. You can pour it directly into the coffee carafe, or transfer the coffee to a saucepan and add the mocha into that pan. Stir well, to fully combine.
TO SERVE HOT- Pour hot coffee into mugs; top each mug with a dollop (or spray) of sweetened, whipped cream. Sprinkle with finely grated chocolate or a little cinnamon, and serve. ENJOY!
TO SERVE ICED- Let coffee cool completely. When ready to enjoy a cup of iced coffee, simply pour over crushed ice, and dollop with whipped cream and a sprinkle of cinnamon. ENJOY!
Here’s one more to pin on your Pinterest boards!


. / The Grateful Girl Cooks!")


. / The Grateful Girl Cooks!")