This delicious spinach and orzo salad is an easy to make dish, with feta cheese, capers, kalamata olives, and a simple homemade salad dressing!
A couple of days ago I was looking through some old recipe books I’ve acquired over the years. I found this Spinach and Orzo Salad recipe, (contributed by a friend of mine) in a church cookbook I received at a Women’s Christmas event 12 years ago.
I made this spinach and orzo salad for my husband and I to enjoy with our dinner. It was delicious (thanks, Monica). Tender baby spinach leaves are mixed with orzo pasta, kalamata olives, green onions, capers, red bell pepper, and feta cheese.
The finished salad is tossed in a wonderful, lemon and white wine vinegar based dressing. I loved having the orzo pasta in this salad, because it added a unique touch!
We really did enjoy this “loaded with flavor” spinach and orzo salad. From start to finish, I think it only took me about 15 minutes to make. My tip is to make the entire salad ahead of time, then let it refrigerate until you’re ready to serve.
Scroll Down For A Printable Recipe Card At The Bottom Of The Page
Are Spinach And Orzo Salad Leftovers Good The Next Day?
YES!!! When I first made it, the salad was served right after it was tossed with the salad dressing. We had some extra salad leftover (which I usually don’t like cause the lettuce “wilts” overnight), and I ended up saving it in a container. Whoa!
Even the leftovers of this salad were delicious! IT WAS ABSOLUTELY FANTASTIC (and NOT wilted) the next day for lunch.
Refrigerating the salad for several hours (AFTER the dressing was added) absolutely enhanced the flavors, and it was just as amazing, if not more, than the night before!
It’s EASY To Make Spinach And Orzo Salad!
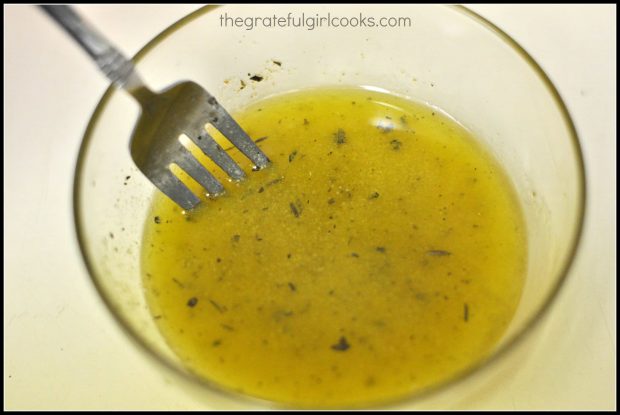
The ingredients for the simple dressing are mixed together in a small bowl. Whisk them together until they are well incorporated.
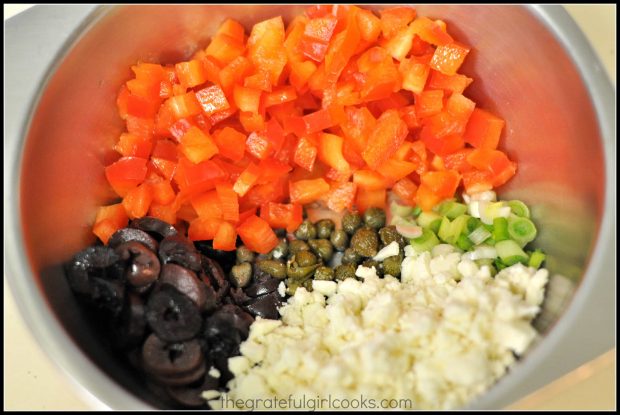
Combine all the spinach and orzo salad “add-ins” in a medium bowl. They include sliced olives, green onions, chopped red pepper, crumbled feta cheese, and capers. Set aside.
Cook The Orzo
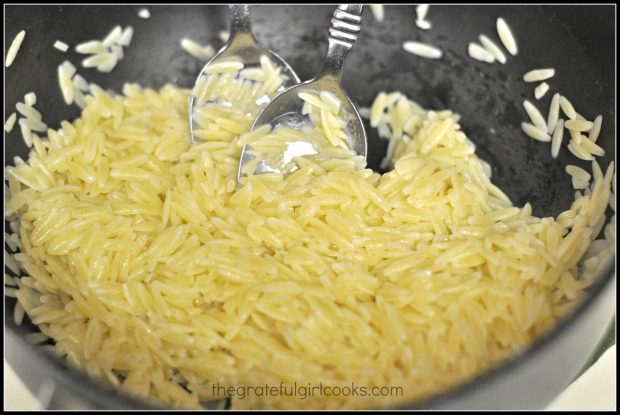
Add orzo pasta to lightly salted, boiling water. Cook the orzo for 9-10 minutes, according to package directions.

Once the orzo has finished cooking, drain it in a colander. Add a small amount of olive oil, and toss gently, to coat.
Set the pan with the orzo aside, until ready to add it to the salad. Let the cooked orzo cool completely.
Time To Put the Spinach And Orzo Salad Together
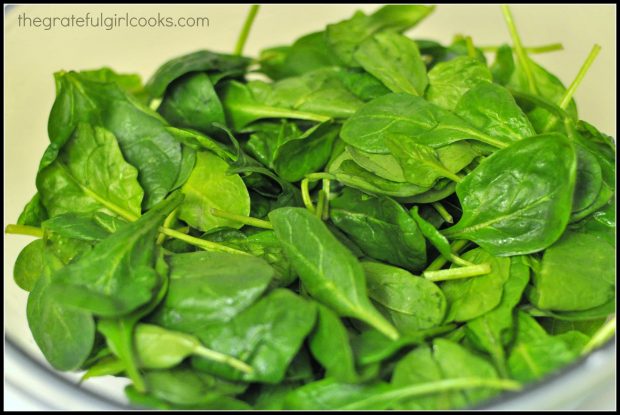
When you are ready to “build” the spinach and orzo salad, place baby spinach leaves into the serving bowl.
Place the orzo, kalamata olives, red pepper, green onions, capers and feta cheese on top of the spinach leaves.
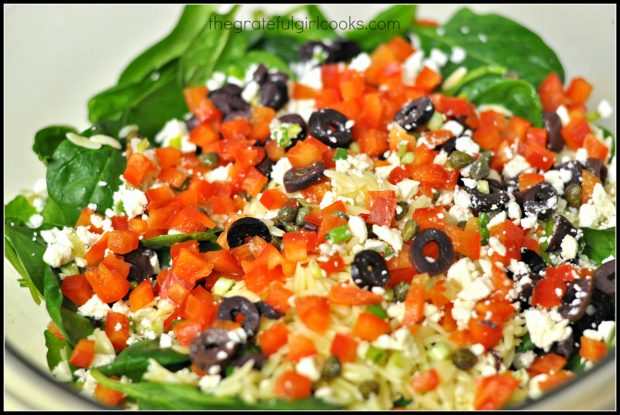
Mix all the spinach and orzo salad ingredients until they are well combined.

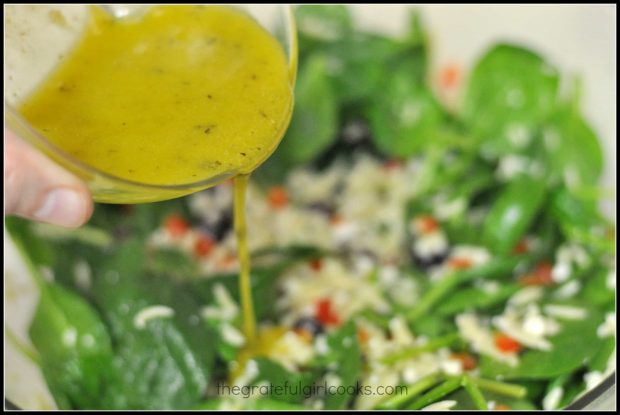
Give the prepared salad dressing a final stir, then pour it onto the spinach and orzo salad. Give the salad another toss, to distribute the salad dressing throughout.
Time To EAT!
Once mixed together, the spinach and orzo salad is ready to serve and enjoy! Hope you like it too, because it is delicious!
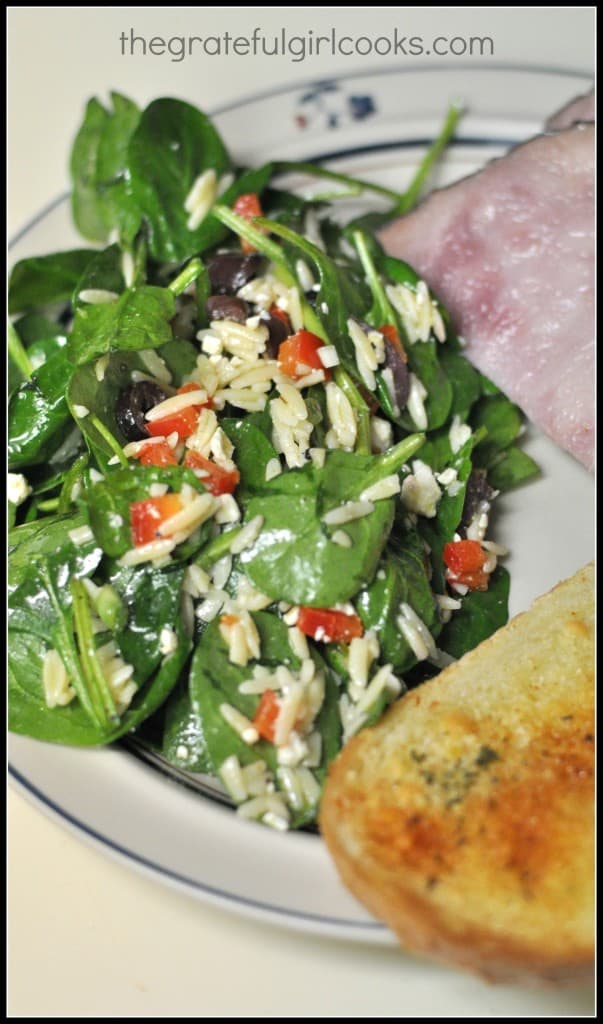
Hope you will give this delicious spinach and orzo salad a try! It’s simple to make, and really tastes quite amazing! Have a fantastic day!
Looking For More SALAD Recipes?
You can find ALL my recipes in the Recipe Index, located at the top of the page. I have lots of yummy salad recipes you’ll enjoy, including:
- Bacon Lover’s Spinach Salad
- Easy Chicken Caesar Salad
- Southwest Chicken Salad
- Roasted Veggie Orzo Salad
Interested In More Recipes?
Thank you for visiting this website. I appreciate you using some of your valuable time to do so. If you’re interested, I publish a newsletter 2 times per month (1st and 15th) with all the latest recipes, and other fun info. I would be honored to have you join our growing list of subscribers, so you never miss a great recipe!
There is a Newsletter subscription box on the top right side (or bottom) of each blog post, depending on the device you use, where you can easily submit your e-mail address (only) to be included in my mailing list.
You Can Also Find Me On Social Media:
Facebook page: The Grateful Girl Cooks!
Pinterest: The Grateful Girl Cooks!
Instagram: jbatthegratefulgirlcooks
 Recipe Source: Monica Martin, in “A Real Simple Christmas”, Family Favorites, 2002
↓↓ PRINTABLE RECIPE BELOW ↓↓

- 4 ounces orzo pasta (about 1/2 cup)
- 1 Tablespoon olive oil
- 1 teaspoon lemon juice
- 1/4 cup olive oil
- 1 1/2 Tablespoons white wine vinegar
- 1/2 teaspoon Dijon mustard
- 1/2 garlic clove , minced
- small pinch dried thyme
- 1/4 teaspoon oregano
- 1/8 teaspoon cumin
- Salt & pepper (to taste)
- 1 bag baby spinach leaves (or use 1 bunch spinach, then chop)
- 1/4 cup sliced kalamata olives
- 1/2 red bell pepper , chopped
- 1 stalk green onion (white and green parts), minced
- 1/2 Tablespoon capers
- 2 oz. feta cheese , crumbled
- Make the salad dressing: In a small bowl, mix together the lemon juice, olive oil, white wine vinegar, dijon, garlic, thyme, oregano, cumin and salt & pepper, until fully combined.
- Bring medium saucepan of water to a full boil Add the orzo. Cook for 9 minutes. Drain and toss with 1 Tablespoon of olive oil. Set aside to cool.
- Put the spinach leaves into a large salad bowl. Add the cooked and cooled orzo, sliced olives, chopped red peppers, minced green onion, capers and feta cheese. Mix to combine.
- Pour the salad dressing over the salad. Toss to fully combine. Refrigerate until ready to serve.
- Enjoy!
Tip: I think the flavors go together (even better than they already do) when you completely make the salad (including the dressing), then refrigerate the salad for a few hours.
Here’s one more to pin on your Pinterest boards!
.


